In Part 1, I introduced you to DAVE ELLIS, a video game writer and director for more than two decades. A couple of visits to watch STAR TREK CONTINUES and Dave was bitten by the fan film bug. He wrote a Star Trek fan film script to shoot at NEUTRAL ZONE STUDIOS in Kingsland, GA, but before he could assemble a cast a film crew, the Covid pandemic hit, and Dave had to shelve the idea.
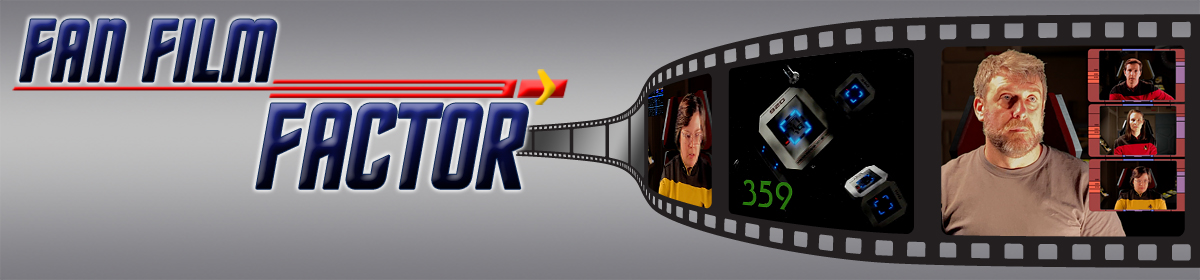
But then he had the idea to create a “Starfleet Zoom call” fan film (what I like to call a fandemic film) where all of the actors could be on screen one at a time, shooting their lines separately at their homes. Titled simply “359,” the story would deal with survivors from the devastating battle with the Borg from TNG‘s “The Best of Both Worlds,” each person in a separate escape pod. But in the time it took to write and finalize the script, the lockdown had begun to lift. So instead, Dave set up a green screen “studio” inside of his garage . Roles were cast, and two shooting weekends were held in September 2021 and again in May 2022, with over a hundred takes recorded for the four actors combined.
Dave has created a full “359” website with behind-the-scenes background info, blog entries, and even outtakes and and bonus features. Indeed, most of the information in both parts of this blog feature is sourced from the blogs and photos on Dave’s website, which I strongly recommend that you check out for a much fuller story. I will be covering just the highlights here. Pre-production and shooting were the subject of Part 1. Now we move onto post-production and how something that seems like it was so simple and straightforward to create was actually very, VERY challenging.
First, take a look at the completed fan film…
Now let’s find out all of the steps that went into turning that raw footage into what you just saw above. As they say on Star Trek: “And now, the conclusion…”
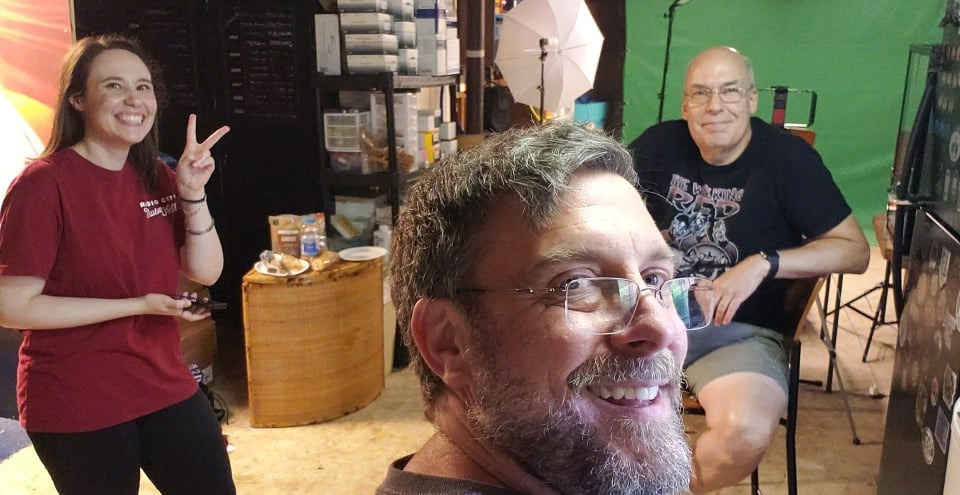
The next challenge came with the editing. Dave was quite accomplished with the Macintosh iMovie software, which has very effective green-screen chromakeying. The only problem is that iMovie only offers two tracks at a time to an editor. This means one channel would contain the digital background of the escape pod while the other held the green screen footage of the actor. However, Dave would need to display up to four composited actors on screen at one time, and that would require eight channels, not two.
So that eliminated iMovie as an option.
Fortunately, Dave discovered Final Cut Pro, a relatively simple and easy-to-learn piece of Mac software that is way more versatile than iMovie (by orders of magnitude). Dave was up and running in the first 24 hours thanks to a bunch of helpful YouTube tutorials. Final Cut Pro also came with a 90-day, full-featured free trial period, which was enough time to finish the edit with two weeks to spare. Ironically, Dave ended up spending the $300 for the full license anyway because he loved the software so much. Not only did it allow him to create multiple picture-in-picture (P-in-P) layouts with unlimited video tracks, but the application also includes built-in sound effects, visual effects, and a transition library…along with all kinds of audio editing capabilities.
Now it came time start assembling the final fan film.
As I said, a typical “Zoom call” fan film is easy because the film editor just toggles back and forth between speakers. But Dave wanted more of a “Brady Bunch” style layout with multiple faces on the screen at the same time, one of them being the primary actor and the others being secondary, smaller heads. But setting all of that up when you’ve got a 15-minute fan film and about a hundred separate takes of four actors (along with a fifth voice-over that the actors are reacting to) can create some huge challenges unless you’re very organized. Fortunately, Dave was.
“I realized before I started editing that I’d need a way to keep track of which scene was being displayed in which window and for how long. That meant storyboarding the entire production from start to finish. This is where the shot logs came into play. I’m not a great artist, so I didn’t attempt to draw out each scene. There was really no need. What I needed for the edit was a way to keep track of which shot/take was displayed in which window and the flow of the dialog so that I knew when and where to cut from one ‘primary’ shot to the next….

“Each scene keeps track of the primary location (what’s shown in the main window), the arrangement of the shots in the secondary (P-in-P) windows, and the flow of the dialog indicating where I wanted to cut from one primary shot to the next.
“As I created the storyboards, it was really important to the continuity to know where each character was located in the P-in-P for each primary view. That way, I didn’t have people’s P-in-P windows switching places from shot to shot as I moved through the story. I consistently populated new P-in-P windows from top-to-bottom as they opened and kept them the same throughout. When one window closed, the others rearranged as needed. Without storyboarding, I never would have been able to keep track of that.”
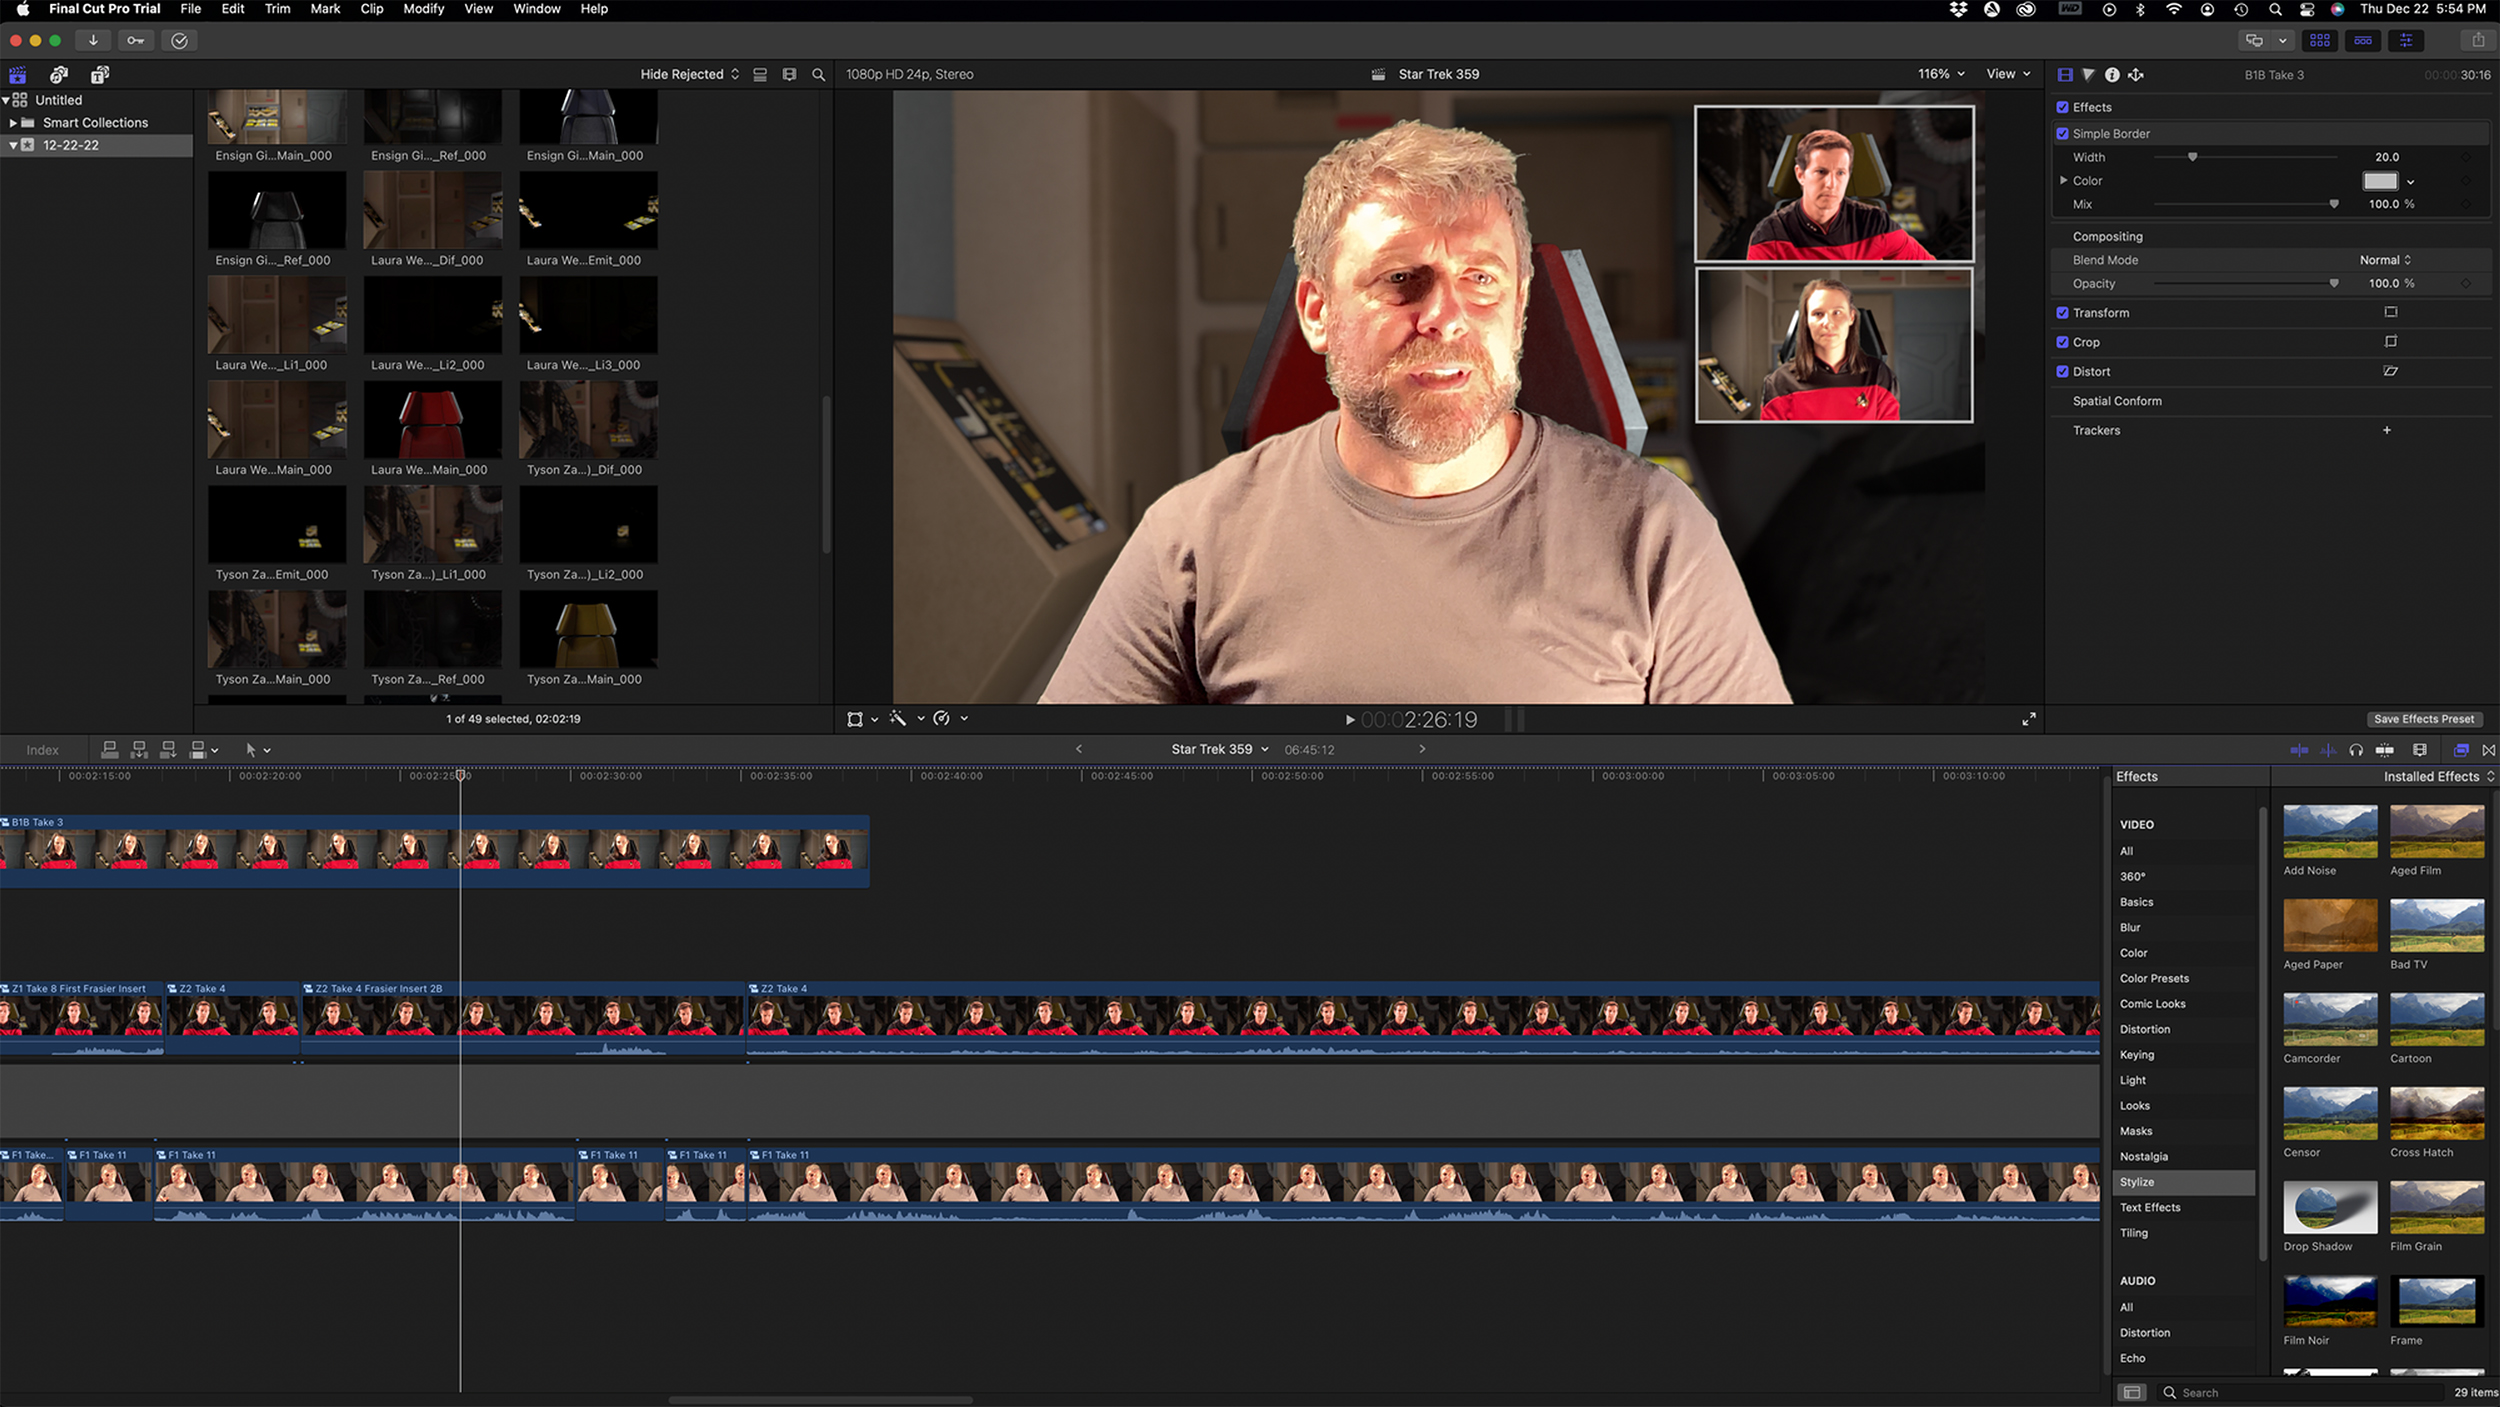
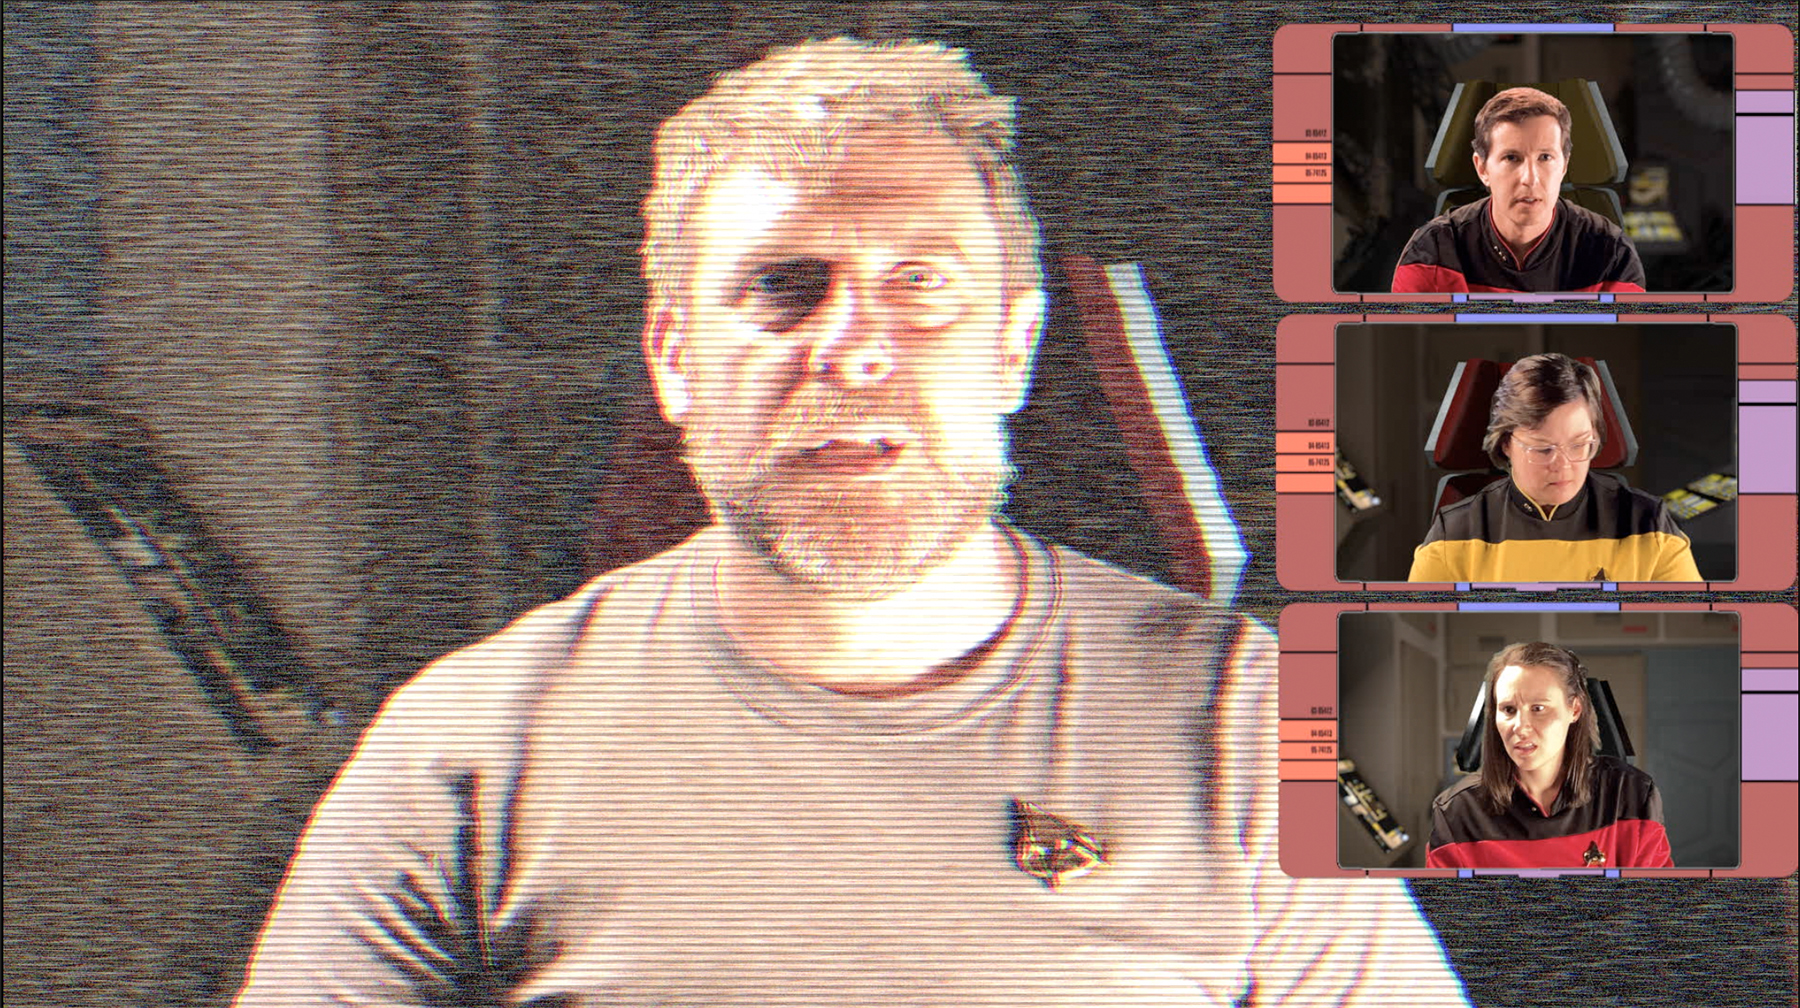
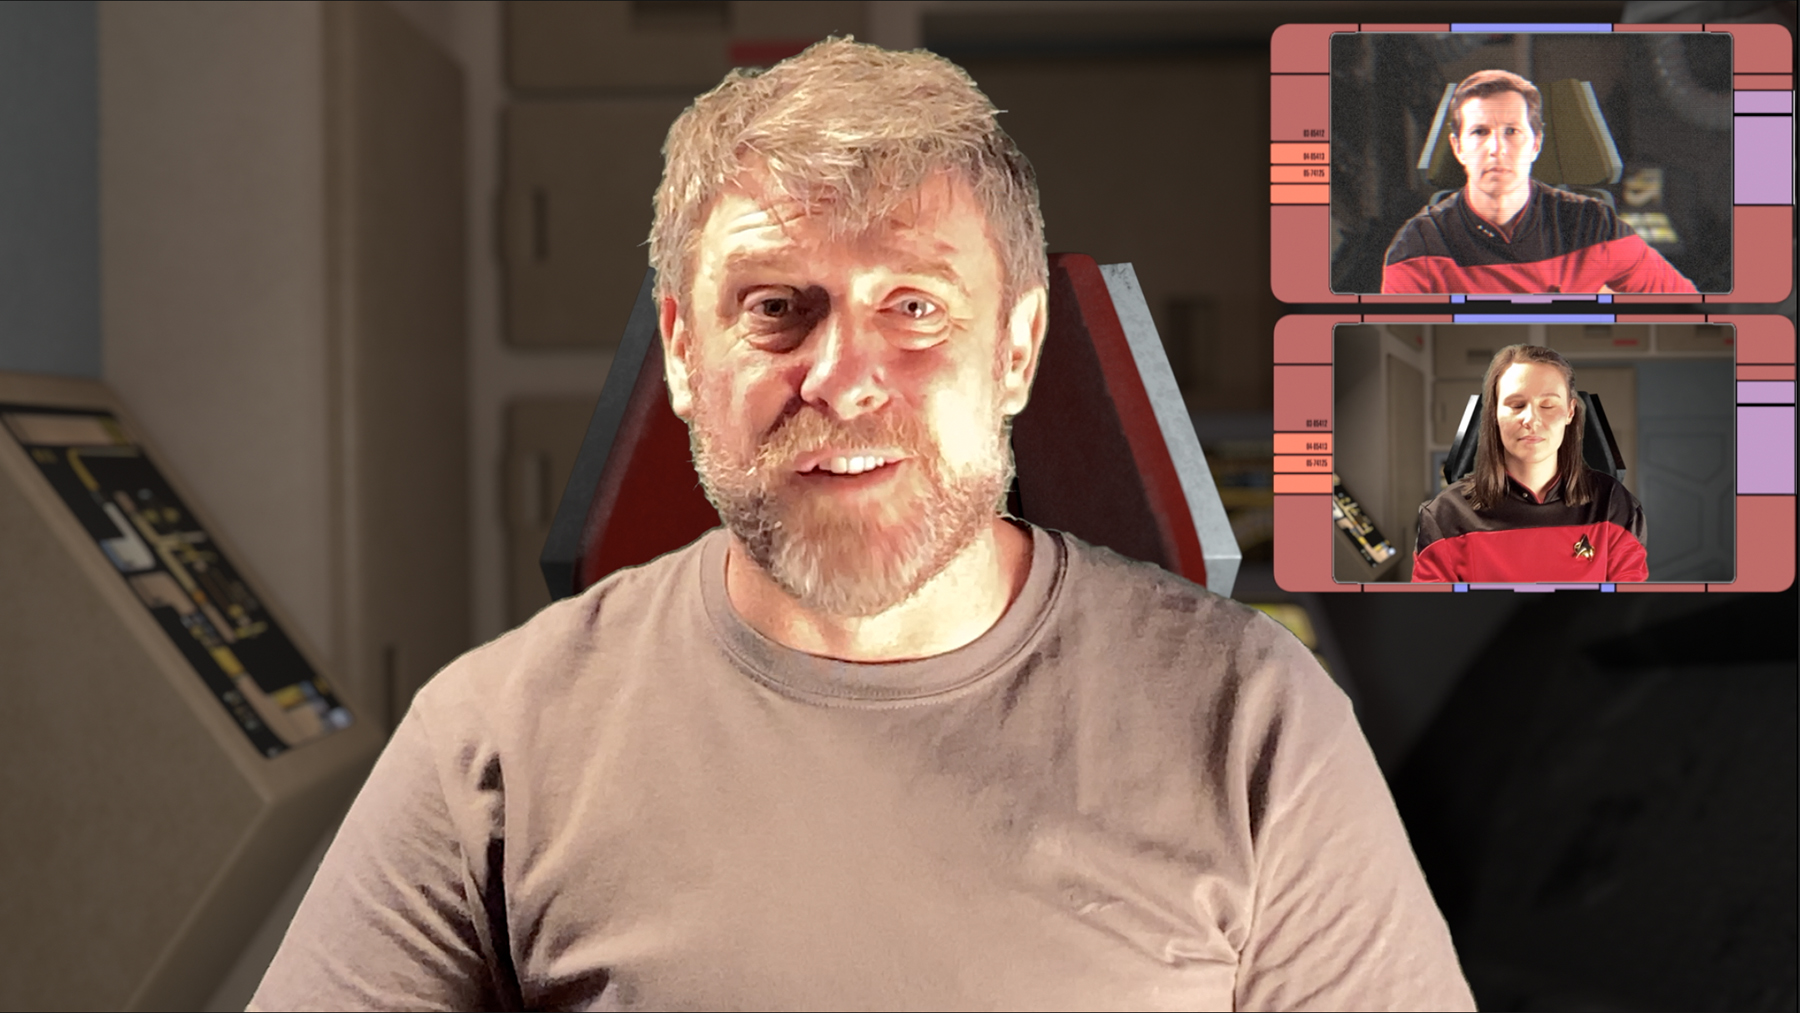
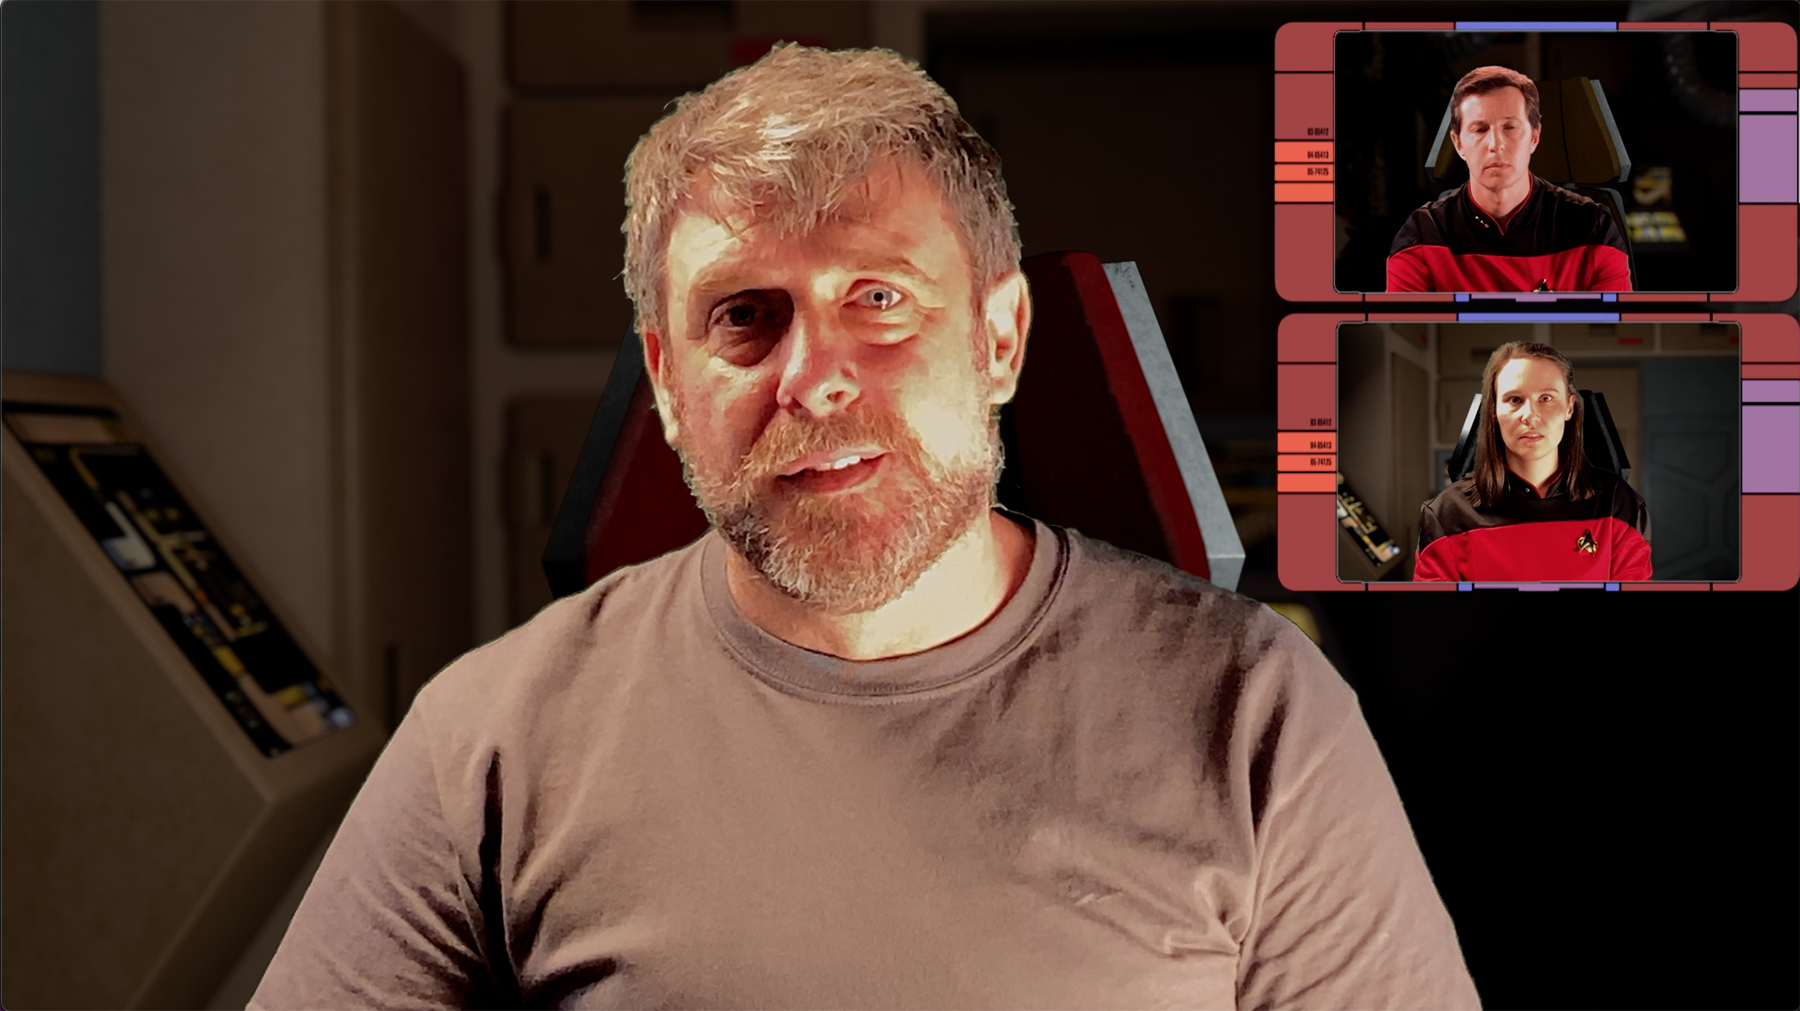
But the challenges weren’t close to over yet. While the primary talking head could remain full-sized, filling the entire frame, the secondary P-in-P had to each be resized individually and placed along the right side of the screen. The problem is that resizing and placement is a manual process, and Dave couldn’t figure out a way to make each of the resized clips the exact same size and location. And with only a thin white outline, even a one-pixel shift in size and/or location was not only noticeable but pretty darn distracting! Dave was spending ridiculous amounts of time tweaking the sizes and vertical/horizontal placements of each video as he placed it, and was quickly being driven crazy.
Fortunately, Dave’s bout with insanity was cut short as he was watching an episode of STAR TREK: PICARD and noticed that they handled a P-in-P shot on the view screen by surrounding the insert with an LCARS frame. It was easy enough to find an LCARS image online, fill it with chromakey green, and place it as a frame to cover his resized clips. In this way, even if their size was inconsistent, the frames along the side would cover their edges, and they would all appear the same each time they popped up.

The next challenge came with timing the characters’ reactions to one another. Remember that the actors were sitting in a chair, delivering their own lines and then sitting quietly while the other actor read the script to them. This allowed the on-screen actor to “react” to what was being said. The problem was that the final line delivery often did not exactly match the timing of the reaction shots. “I had to cut the reacts that were too long and stretch the ones that were two short so that the reactions to major ‘beats’ in the story timed out properly.” Unfortunately, the resulting cuts were very noticeable. But Final Cut Pro to the rescue!
Among the visual filters the program offers is one called “Bad TV,” with turns the video into a static-filled image for a moment. “For times when I needed to cover up a place where I cut reaction shots for time,” explains Dave, “I used a little burst of light distortion. You can still see the jumps in footage, but it looks like the glitch was caused by interference (instead of by a director who was sloppy about timing shots).”
“And, for places where the interference is playing a direct part in the scene, I cranked up the level of distortion even higher.”
Dave applied a number of other video filters and effects to the images, including an artificial camera shake for certain moments like the tractor beam. He also adjusted the overall lighting at the end to make each of the images a bit darker. In retrospect, Dave said he wishes he had thought to do the lighting adjustments before editing everything together, as making individual tweaks to that many clips would have been tremendously time consuming. However, darkening the entire rendered film worked out well and created a more somber mood all around.
Sound was another aspect of the film that you probably didn’t even notice but that took a lot of work. For example, each time a character presses a “button” on their off-screen console, it needs to make a sound. Sure, there’s no law that says all Starfleet buttons must make noises when pressed, but if you watch the various television series and movies, they do…almost every time. And believe me, you would notice if they didn’t make a noise; it wouldn’t feel right when watching. It was for this reason that directors on TNG, DS9, and the rest used to tell their actors not to press too many buttons while they were on camera (to save time in post-production). Unfortunately, Dave forgot to tell his actors the same thing.
“Timing came first,” Dave recalls, “one flurry of button sound FX for every flurry of button pressing. Multiply that by however many people are on screen pressing buttons at the same time, and the sounds start piling up. THEN, I had to go through and make sure that the button press sounds were at the appropriate volume. The buttons pressed by the person in the main frame had to be louder than those of the characters in the smaller windows. I also added in the appropriate Star Trek: The Next Generation sound FX for opening and closing communications windows, hailing frequencies open/close, incoming hails, engines powering up/down, and so on.”
Dave also varied the background ambient noise for each pod. For example, Zahn’s was the bridge background noise from Voyager while Frazier’s is a TNG room hum. Then he applied sound filters like “Shortwave Radio” and “Walkie-Talkie” to distort the audio transmissions slightly, and added glitch and static sounds at the visual distortion points that covered the editing cuts.
Fortunately, Dave had gotten pretty decent audio quality from a wireless clip mic attached to the tripod in front the on-camera actor. It created a makeshift boom mic and produced a decent result. There was only one take where his HVAC system could be heard in the background turning on, and Dave was able to cover that by adding in one of those always-conveniently-timed comm “glitches.”
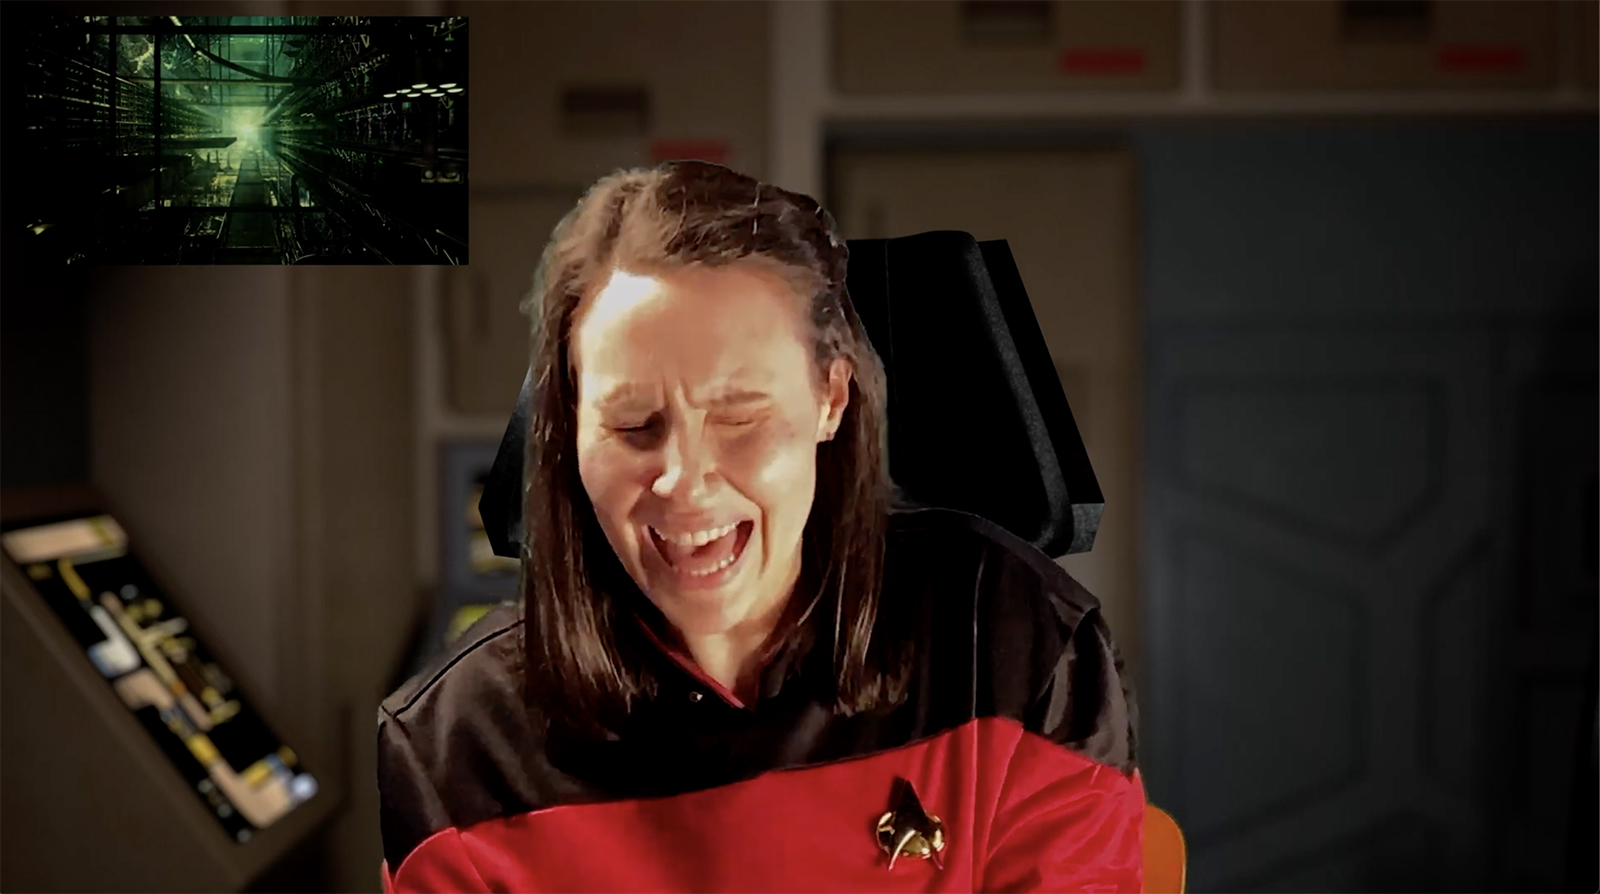
Volume levels for the voices also came out generally even…with two notable exceptions that Dave didn’t notice at the time he was filming. One was the scene where Webber tells Boyd, “…just GO! AS FAST AS YOU CAN!” and the other was Boyd’s scream at the end. In both cases, the raised voices blew out the audio, resulting in a garbled mess. Dave wasn’t able to record pick-ups later for either sound clip. So for the Webber line, he distorted the first part and applied a static video filter over the last part, muting the video. “That only kinda works,” says Dave, although I personally liked the effect.
With the scream, however, Dave and I both agree that it works really well. “By cutting the scream right before the sound blows out, I inadvertently ended up with a really cool ‘cut to static’ moment for my ending. I actually like it better the way it turned out than I would have if the entire scream had been recorded. (You can hear the blown-out version of the entire scream in the outtakes.)
One of the final sound tasks was getting the Borg voices at the end to sound, well, Borgy. Dave had already gotten each of his actors (except Sarah Johnson because Ensign Boyd hasn’t been assimilated yet) to record the same lines of dialog. Then Dave went to friends and fellow Trek geeks to get even more voices recorded. Of course, the voices didn’t perfectly match each other, but that was easily remedied in Final Cut Pro. Dave then merged them into a single sound file, added a Final Cut sound filter to make them sound more Borgish, also added an ambient sound to put a low-level bass hum behind the voices, and finished it all off with Borg “in” and “out” sounds that were sampled from Star Trek: First Contact.
Speaking of First Contact, Dave wasn’t planning on having too much music, but he wanted to at least have a few places where there were flourishes, like the transitions between acts 1 and 2 and between acts 2 and 3. He also wanted short music clips at the opening, during the suspenseful climax, and over the closing credits, of course. But Dave preferred that his music be subtle, and the First Contact Borg music was way too grand and cinematic. Likewise, the Borg music from “The Best of Both Worlds” was too dramatic and so recognizable that it would likely be somewhat distracting. Ultimately, Dave decided to sample the musical score from the Voyager 2-parter “Dark Frontier,” composed by DAVID BELL.
“There is a ton of music for those two episodes, so I scoured through it for tracks that would work best. Obviously, the music was scored to the action in the Voyager episodes, so it didn’t fit my action perfectly. What I ended up doing was matching up beats/sections of the music to my action, and editing and blending various sections of a single track or multiple tracks in Final Cut Pro to customize the music to my scenes. The music times out great–and it’s completely by design.”
With all of the sound and music set up, Dave then proceeded to do some fun things with surround sound in Final Cut Pro, which I invite you to read more about in his final editing blog discussing Sound and Music. There’s a lot of detail in there, and more than I have time to cover in what is already a pretty long 2-part blog!
But as you can see, for a fan film that appears on its surface to have been fairly “easy” to make, a LOT more meticulous and painstaking effort went into it than most people might imagine. Dave began editing “359” on December 22, 2022, completed the first rough-cut edit eight days later, and then did all of the fancy stuff over the next three months, finally finishing the fan film on March 18, 2023, a week before taking it live on YouTube.