
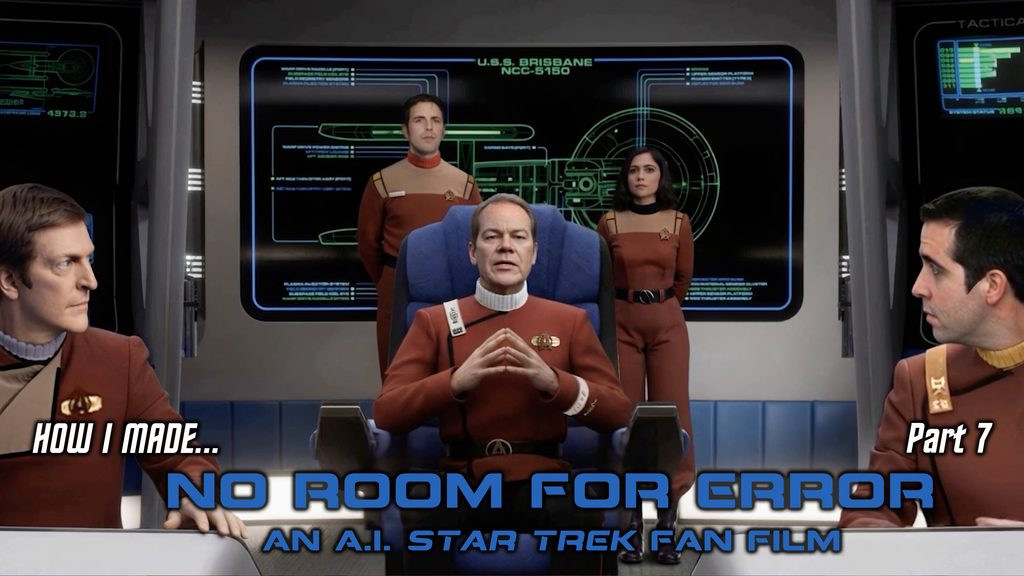
Last time, we hit the 1:08 mark of what is ultimately 5 minutes and 10 seconds of A.I. footage in my new Star Trek fan film, NO ROOM FOR ERROR, which you can watch below…
So, yeah, we’re making progress. As I said, I’m writing these deep-dive behind-the-scenes blogs for those who are interested in how A.I. fan films are made (or at least, how this one was made), and I’m not afraid to share my “secret sauce” recipes with you all. And the first ingredient is simply not trying to do everything all at once.
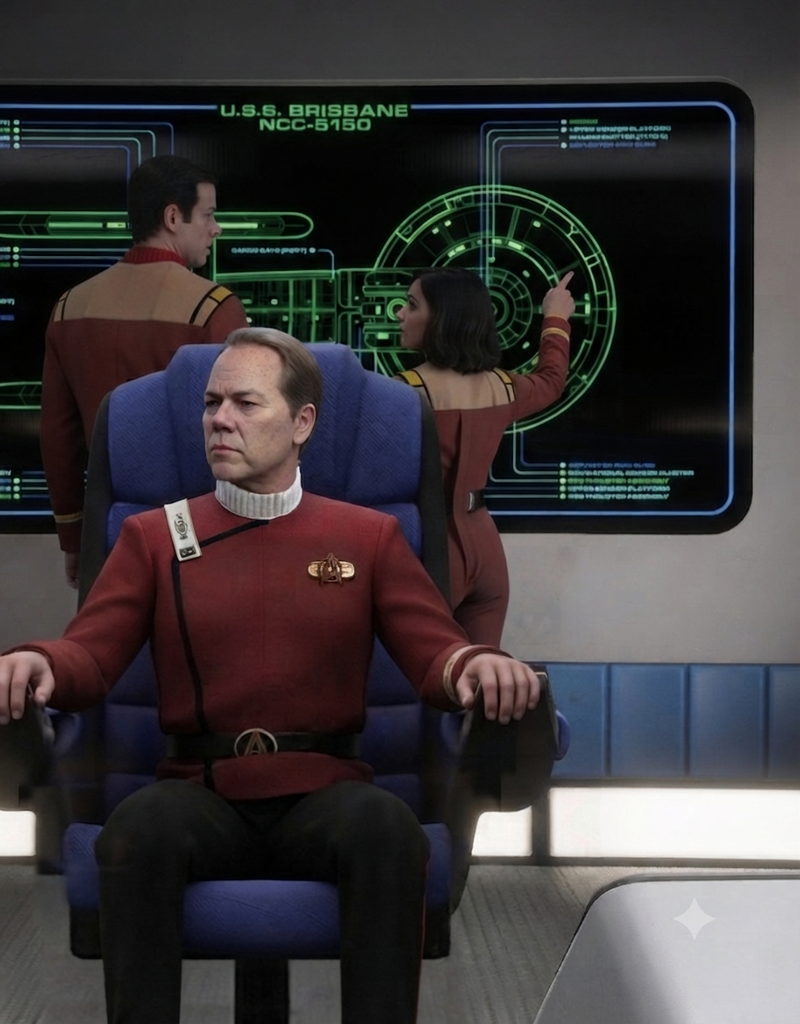
Here’s a good first example. I needed to generate starting and ending seed images for when Captain Matthews turns to the communications officer and says, “Comms, address intercraft.” I began with this image from THE RODDENBERRY ARCHIVE…
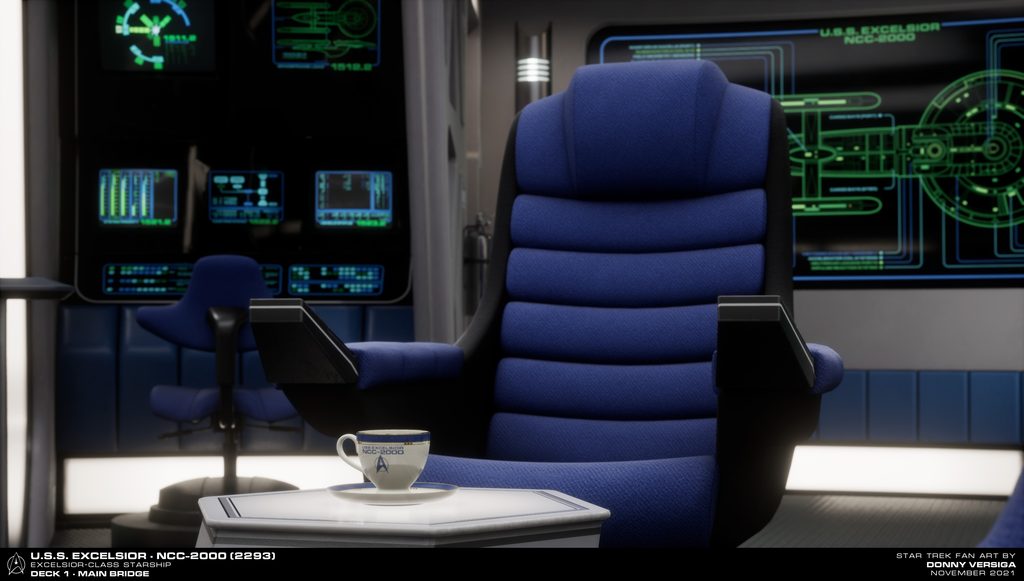
To save me some hassle, I cropped it just above the teacup in order to remove both it and the table (since the U.S.S. Brisbane bridge doesn’t have that table). I next uploaded the previous image of Captain Matthews sitting in his command chair…
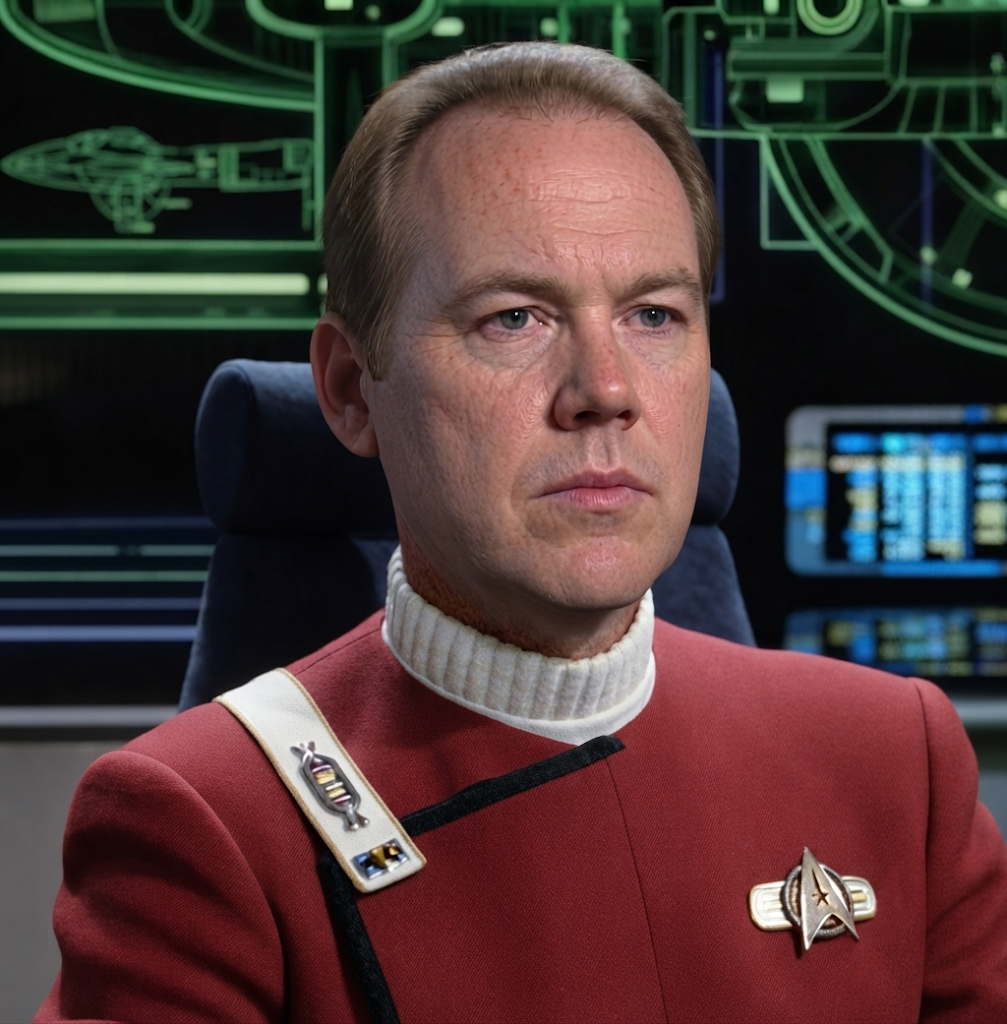
And finally, I uploaded the reference image that I used for all renderings of Captain Matthews’ face (the closest I came to having a character reference sheet, which I didn’t know about using yet)…
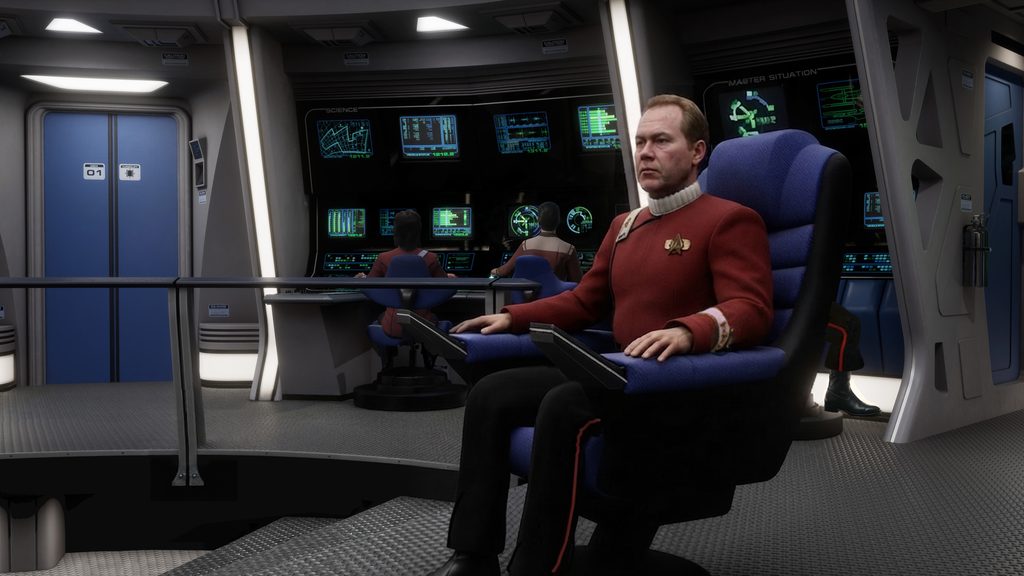
My prompt to Gemini was simple: “Put Captain Matthews (shown in the second and third images) into the empty command chair shown in the first image. His expression should be serious with one hand and arm on each of the two armrests.” And I got back this…
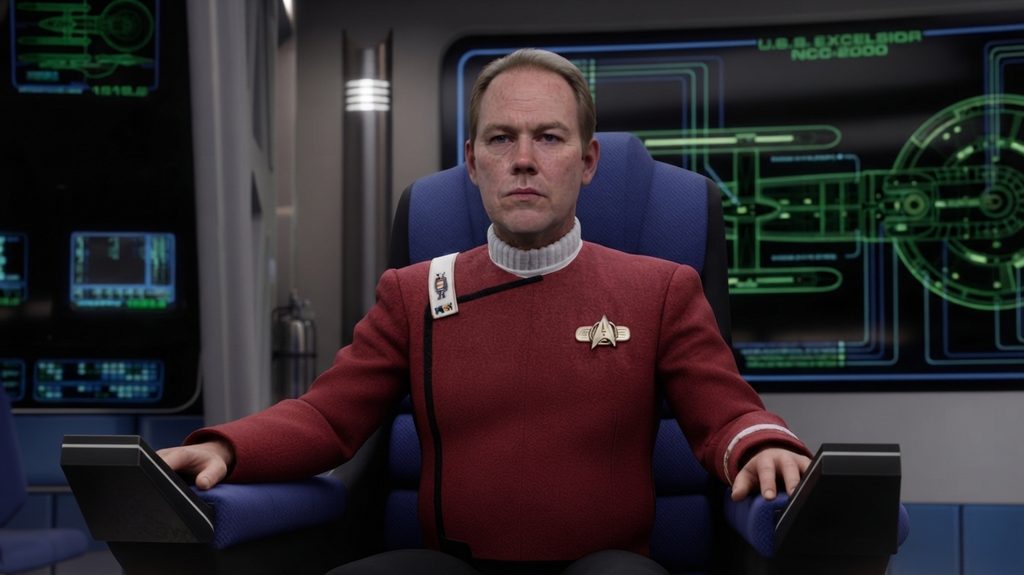
So far, so good. The next prompt was also simple: “In the upper right corner, please change the green letters that currently say U.S.S. EXCELSIOR to U.S.S. BRISBANE and the smaller green letters that say NCC-2000 to NCC-5150.” And here’s what Gemini created for me…
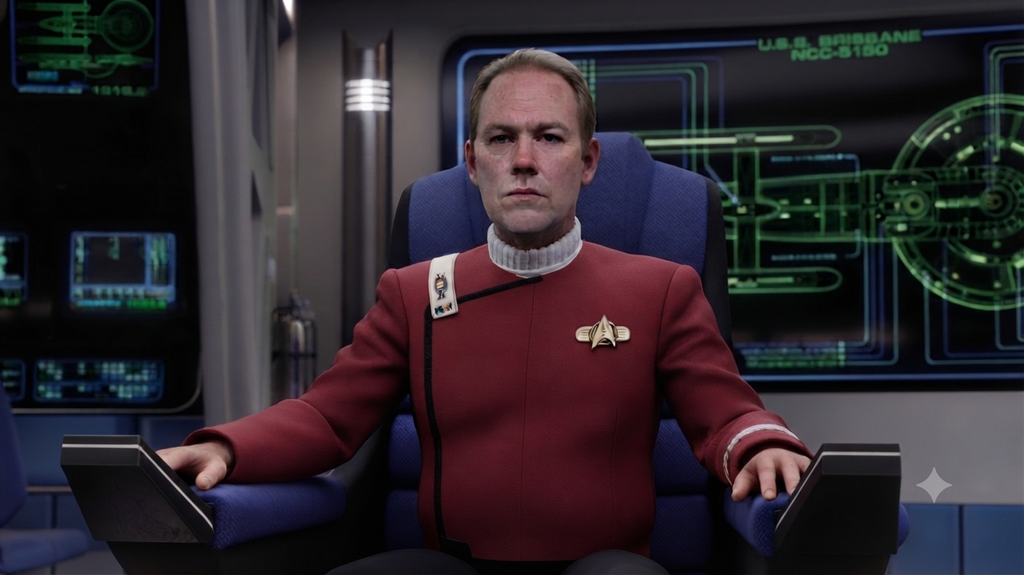
Well, mission somewhat accomplished. However, as often happens with Gemini, the image begins degrading somewhat. This is because it’s using the previous render and working from that, and like a game of “telephone” (does anyone even play that anymore?), things begin to drift from the original with each new step. But again, no worries, because I simply re-uploaded the reference of Matthews’ head and told Gemini, “Fix Captain Matthews’ face in the previous image to look more like the image I’ve just uploaded.” Gemini was happy to oblige…
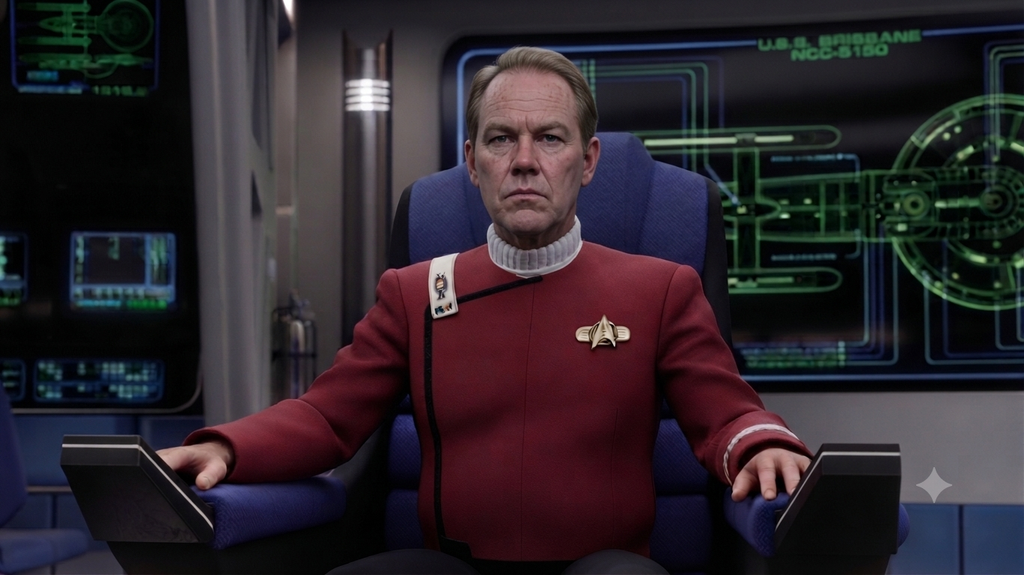
You might also notice that there’s a little gray star in the bottom right corner of the image. This was a watermark that Gemini used to add to all of its renders. It no longer does this (thank goodness!), but most times it was easy to remove in Photoshop. However, I wasn’t quite done yet. There was one more adjustment that I needed to make…
For the previous shot of Matthews walking from the turbolift to the command chair (see Part 6 of this blog series), I needed to fill the bridge with officers and crewmen. I had used this still from Star Trek VI: The Undiscovered Country…
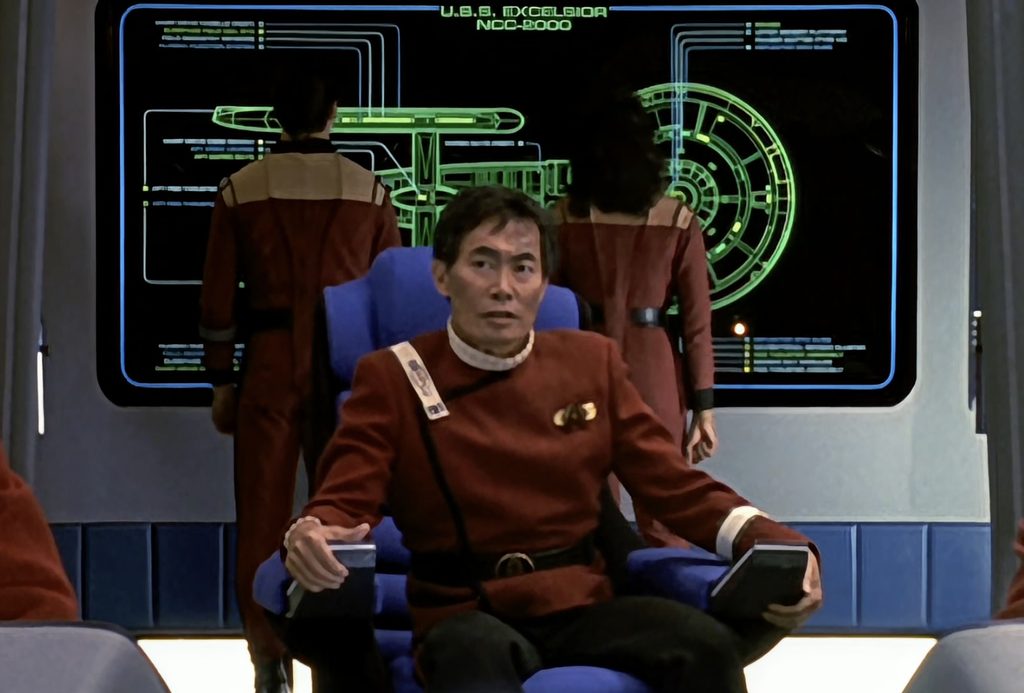
…to have Gemini create the following image of the two enlisted crew members isolated against the schematic display in the back…
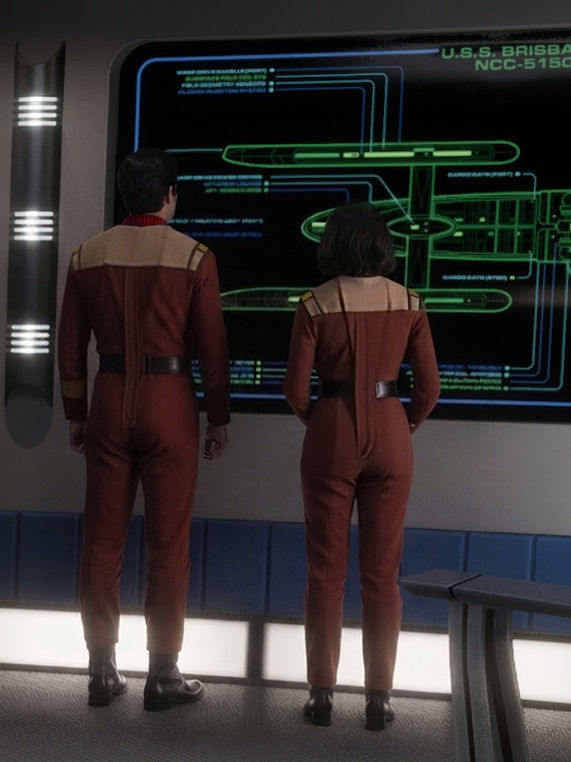
So using the above image and the previous render of Matthews in the captain’s chair, I prompted Gemini: “Insert the two cadets from the second image into the same relative position and pose behind Captain Matthews in the first image.” Gemini gave me this…
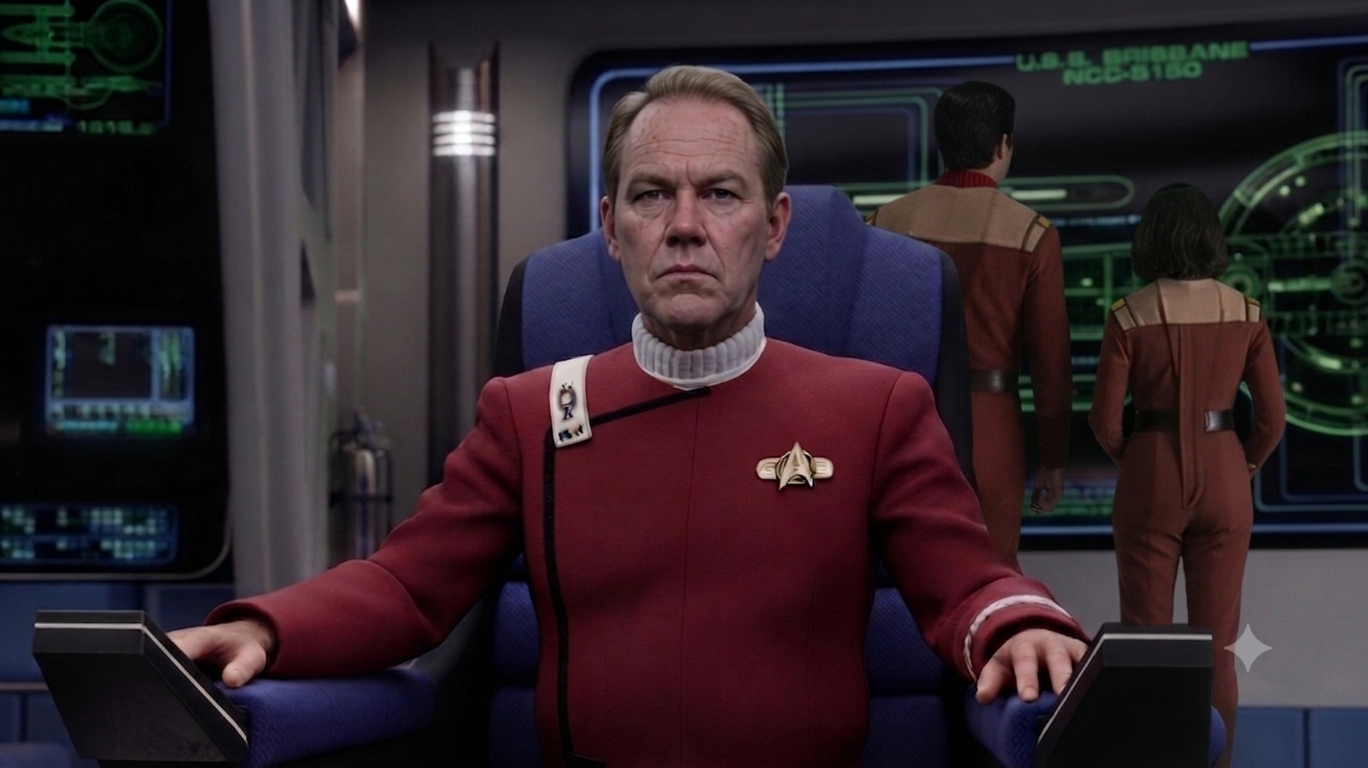
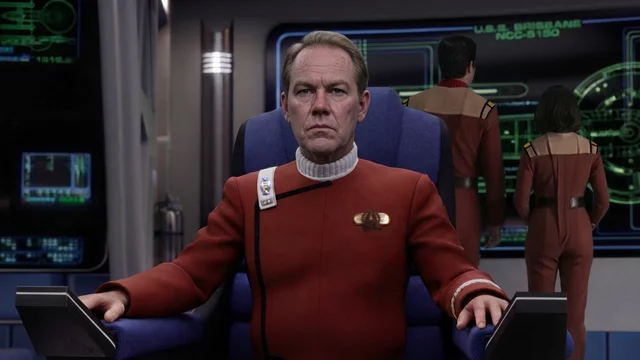
Granted, I still needed to get rid of the gray star watermark and fix Matthews’ rank pin and chest emblem, but that was easy enough to do in Photoshop. And so, working one small step at a time, I had my starting seed image…
Now, can you have the A.I. do everything all at the same time rather than doing things piecemeal? I wasn’t sure yet, but I decided to experiment by writing the following prompt: “Have Captain Matthews turn to his left. Have the female cadet on the far right look at the male cadet next to her. Raise her left arm and hand onto the blue stripe on the display in the back, with her index finger extended to point to something. Have the male cadet to her left turn to look at what she’s pointing to. Change nothing else about the geometry or appearance of the image.”
What I got back was almost perfect…
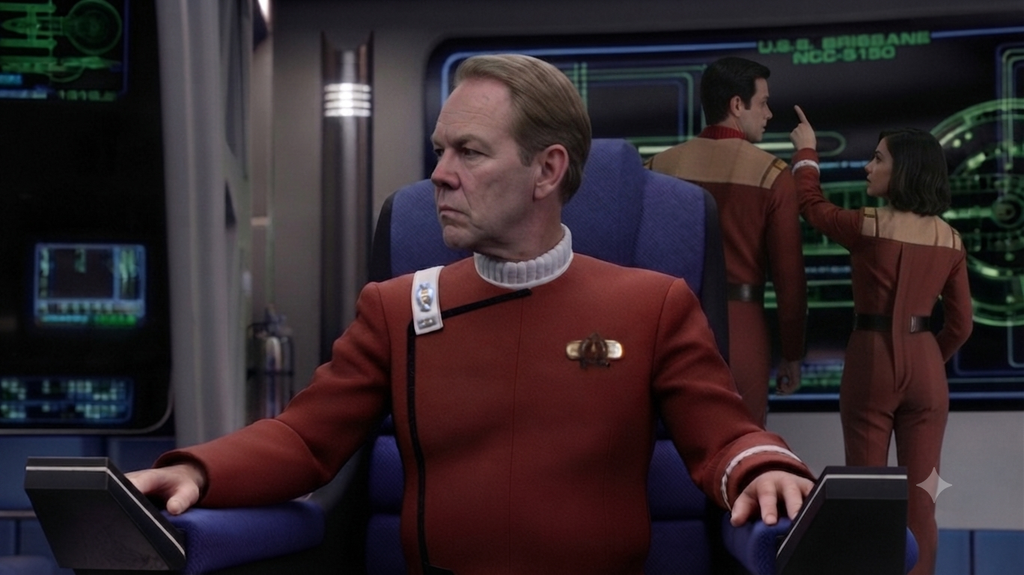
What was still wrong with it? Well, Jonathan is a perfectionist. And while most humans find my obsessive compulsions to be rather annoying, A.I. doesn’t give a hoot. If I ask for something, it provides it (if it can) without question or complaint. And so I prompted the following picky little tweak, “Lower the female cadet’s arm slightly so that her index finger is touching the blue stripe that is currently just below her uniform sleeve cuff.” And I got back this…
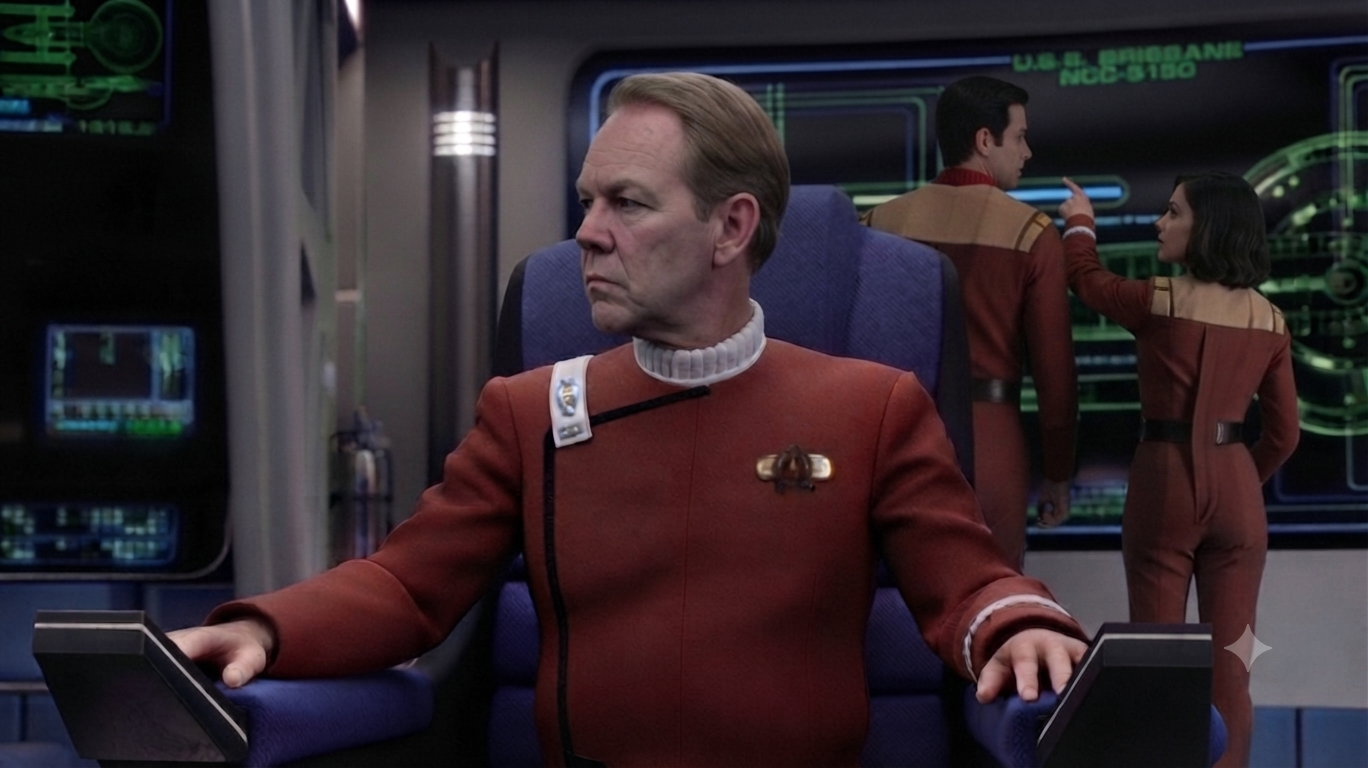
Now, I could have used Photoshop to change that blue light on the nacelle under her finger back to green, but I had now learned that Kling A.I. needed background displays to change between the start and ending seed images in order to animate, and I was curious what I would get. I ultimately got four decent possibilities, some more “animated” than others. Take a look at all four…
I ultimately chose the least distracting of the four (the second one), loaded it into Adobe Premiere, applied a subtle zoom-in, generated Matthews’ Australian voice with ElevenLabs‘ A.I. generator, did a lip sync in Kling, and got the final 3-second clip…
Yep, all of that work for just three seconds of fan film!
Let’s skip over the communications officer saying “Channel open, captain” (mostly because that 4-second clip was a bit of a disaster with more bad renders than I could possibly blog about without boring everyone!) and move on to the beginning of Matthews’ speech. And that will give an even better example of my one-thing-at-a-time approach to A.I. renders…
So here we go again. This time I had a different view of the captain’s chair, as I wanted something straight on that would initially include the helmsman and navigator. I was actually playing director here, as I knew that I was about to include a number of shots from this same or a similar angle featuring the interactions between the captain and the helmsman. I began with this angle from the Roddenberry Archive website…
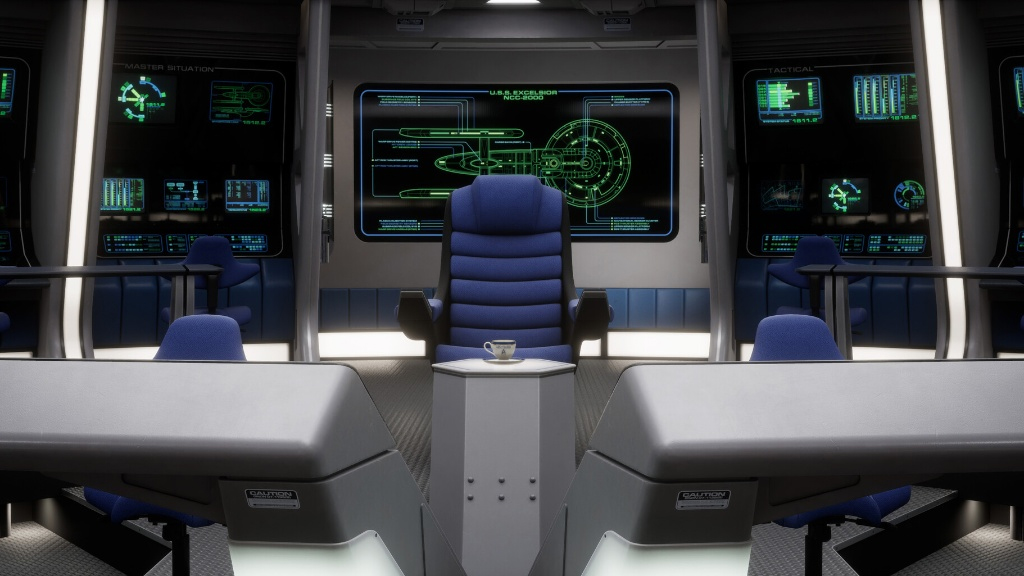
As with the other shot, I wanted to remove the hexagonal teacup table. But this time I couldn’t simply crop it out because that would zoom in too tightly to include the helmsman and navigator. It took four attempts in Gemini, but I eventually got this image…
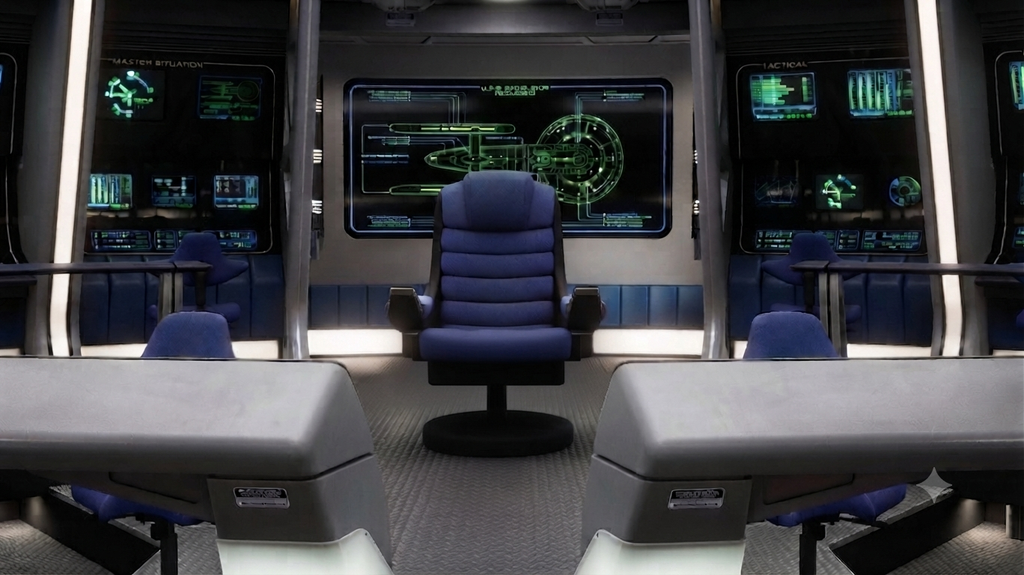
Uploading this image plus the image above of Captain Matthews seated from that diagonal angle and the shot of Captain Sulu, I prompted Gemini with this instruction: “Place Captain Matthews into the empty center seat in the first image. Change nothing else about the image or its geometry. Captain Matthews’ pose should match the pose shown in the second image (adjusted for angle of view, of course). And please use the reference of the third image to properly extrapolate what Captain Matthews’ mid-section and belt should look like when he is seated in that pose. Have Captain Matthews’ hands clasped together in front of his chest instead of resting on the armrests of the chair.” (The “mid-section and belt” I referred to was from the third image of Captain Sulu.)
After another four attempts, I got something that I could definitely use…
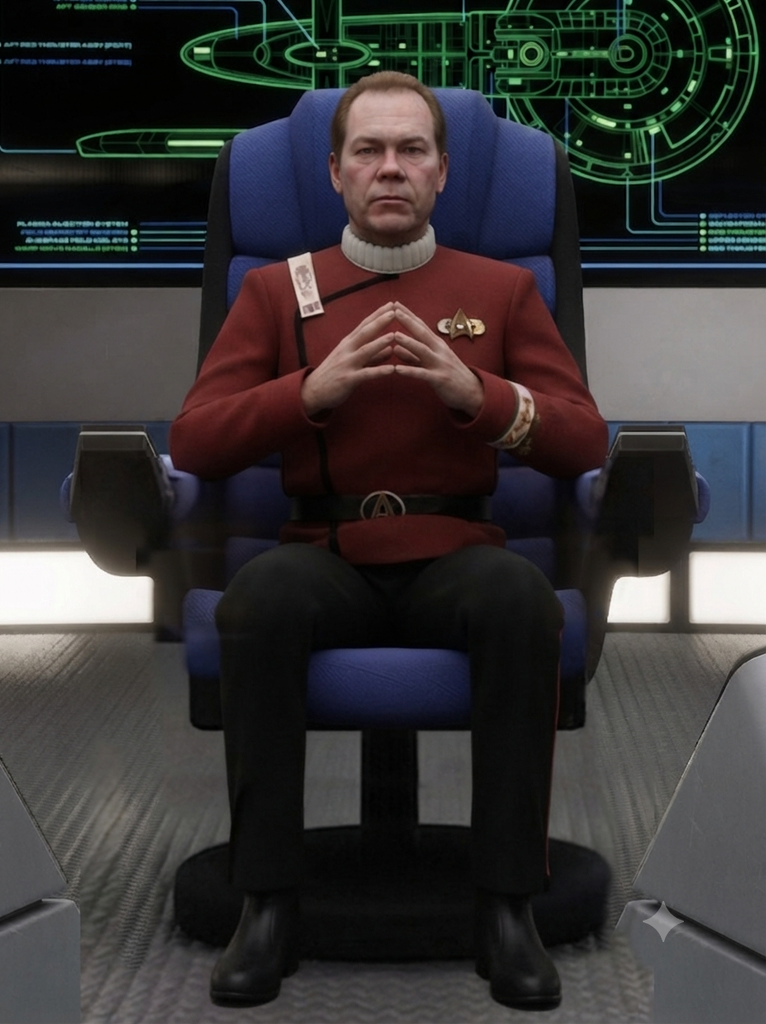
Now, the observant among you may notice that this is actually the ENDING seed image, as Matthews starts the shot looking toward the communications officer with his hands on the chair and then looks forward and touches his fingers together. This wasn’t an accident or an experiment. I reasoned that Gemini would have an easier time starting with Matthews looking straight forward, and then I could have him look to his right (our left) and put his hands down. So I decided to start with just him putting the hands down…
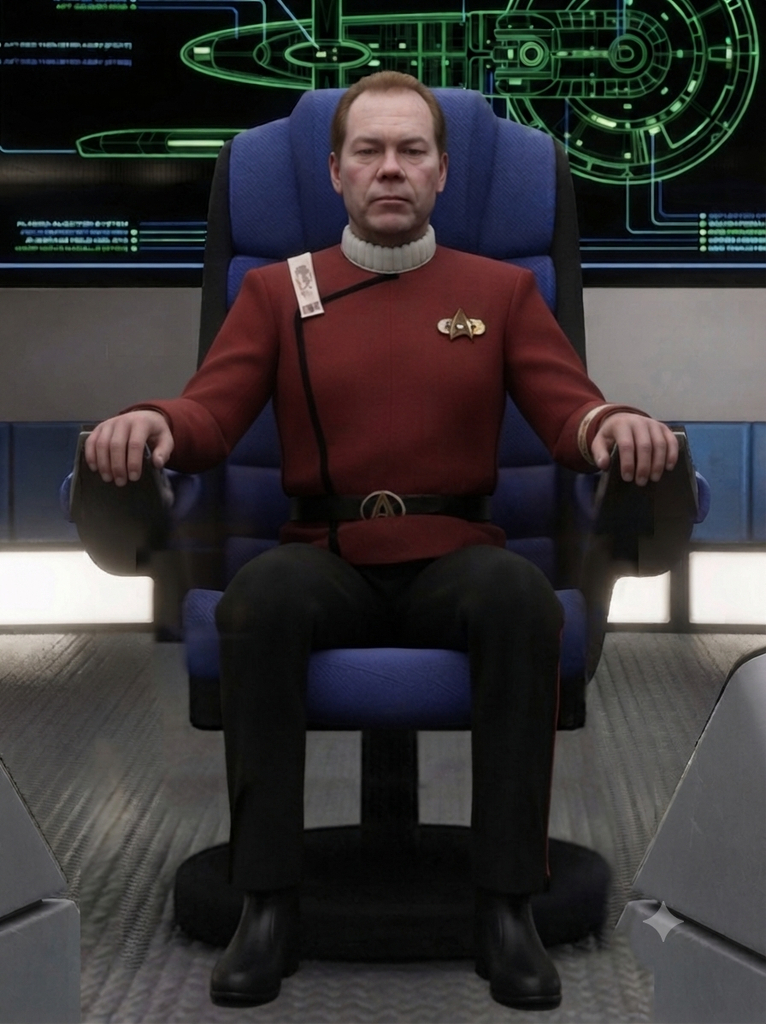
Obviously, I was eventually going to need to tweak the rank pin and chest emblem in Photoshop, but that could come later. Meanwhile, I was beginning to discover that the more I zoomed in tightly on a single thing I wanted to change, the better Gemini was able to change that one thing. And so I cropped just the head and upper torso and said, “Now have Captain Matthews look toward our left. Change nothing else about the image. Only his head should turn, not his body.” And voilà…
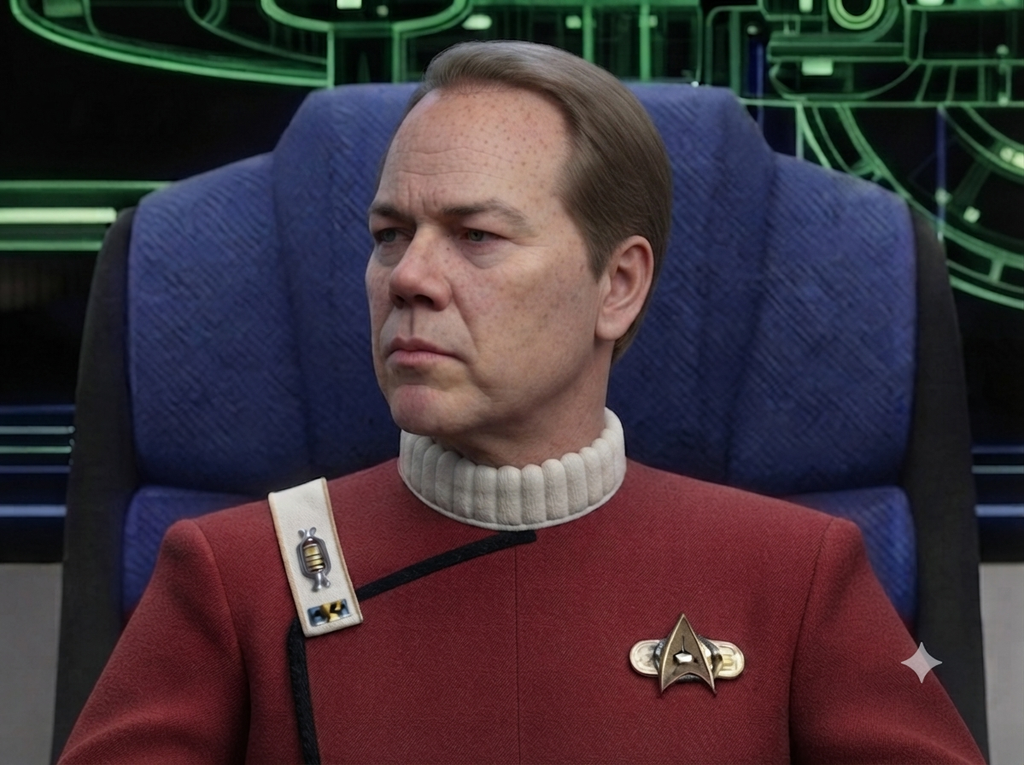
Now, here’s a secret-within-a-secret. All of the above renderings of Captain Matthews were themselves cropped tightly to eliminate everything I didn’t need A.I. to worry about just yet. That’s why those renderings are all cropped with a vertical and not horizontal orientation. Once I had Matthews, I would insert him into the full empty bridge shot above. Now I just needed to adjust the rest of the image.
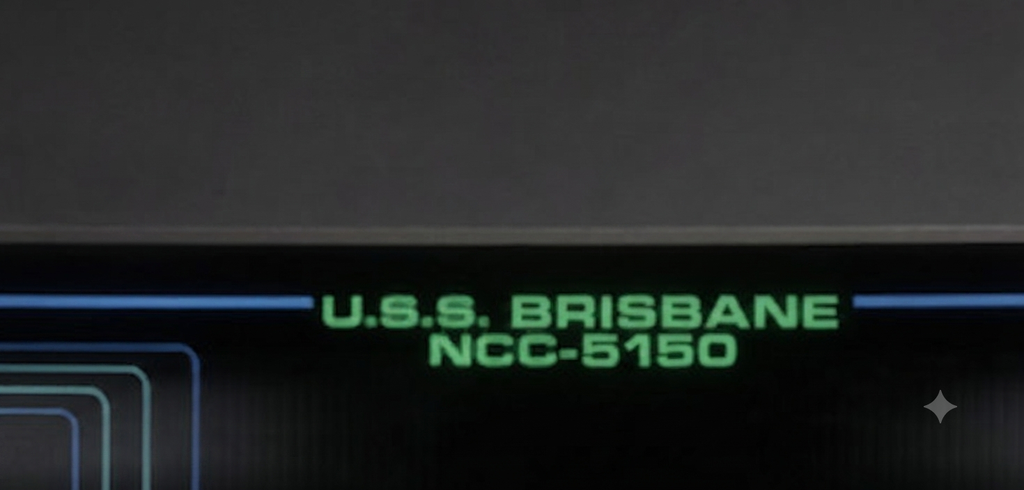
Next up was the very easy swap of the starship name and NCC number. So I quickly got Gemini to change USS EXCELSIOR NCC-2000 to this…
Again, I cropped only what I needed. This was also true of the next adjustment, when I grabbed only the two crew members from the previous clip of Matthews…
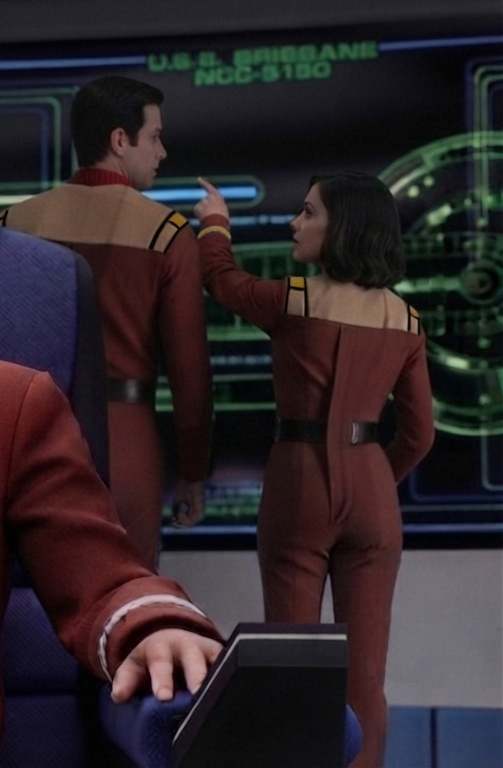
Using the wider shot of Matthews looking left, and with the insertion (in Photoshop) of the Brisbane name and NCC number into the shot, I prompted Gemini to “Insert the two cadets from the second image into the background of the first image in the same relative location and poses. Change nothing else about the image.” And I got this…
Now we’re cooking! What was beginning to happen, albeit slowly, was that I was building up resources that I could use for future reference images. I now had those two crew members facing the schematic in the back, and from different angles. Yay! Now, I needed to turn them both around, as they needed to face the captain while he gave his speech.
Fortunately, I again had help from Star Trek VI and the following cropped screen capture of a crewman behind Sulu…
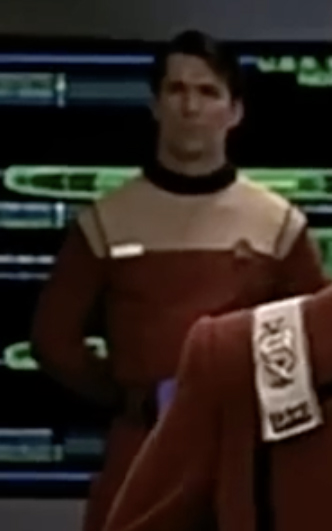
Working from the previous image of Matthews and the two crewmen and this new image, I told Gemini: “Have both of the cadets in the back of Captain Matthews in the first image turn completely to face him. Use the uniform in the second image for reference on what the front of their uniforms should look like.” What I got back was not unexpected…
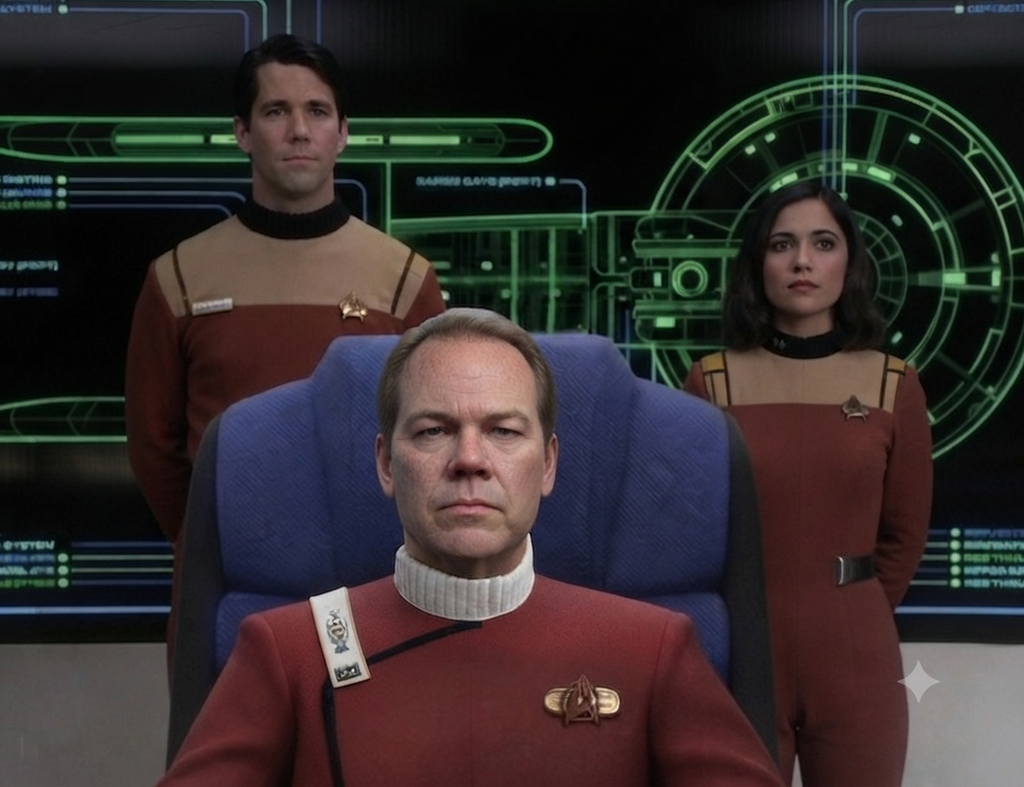
The male needed a red collar, so I decided to fix just that first: “The male cadet’s collar should be bright red. Change nothing else about the image.” What followed was somewhat unexpected…
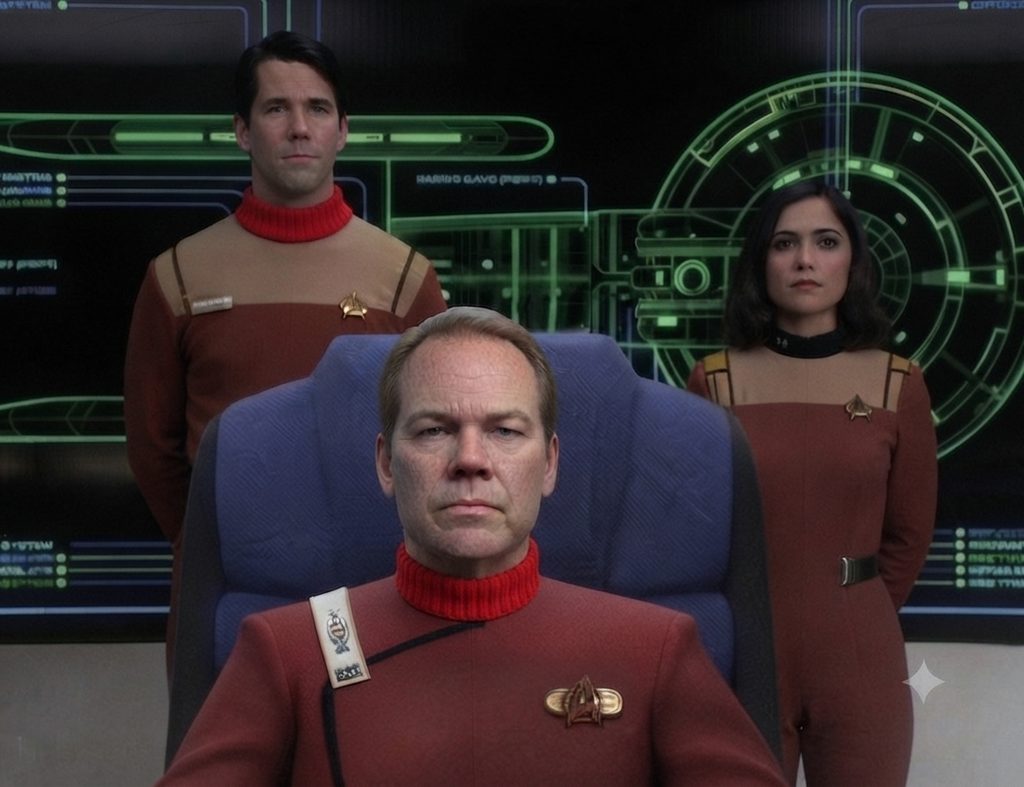
I won’t overload you with the next ten misfires nor the lengthy conversations I had with Gemini as it struggled to make really simple changes. But I will mention that I also needed to change the male crewman’s face to that of fan filmmaker GREG MITCHELL. And eventually, after much tearing out of my hair, I got this…
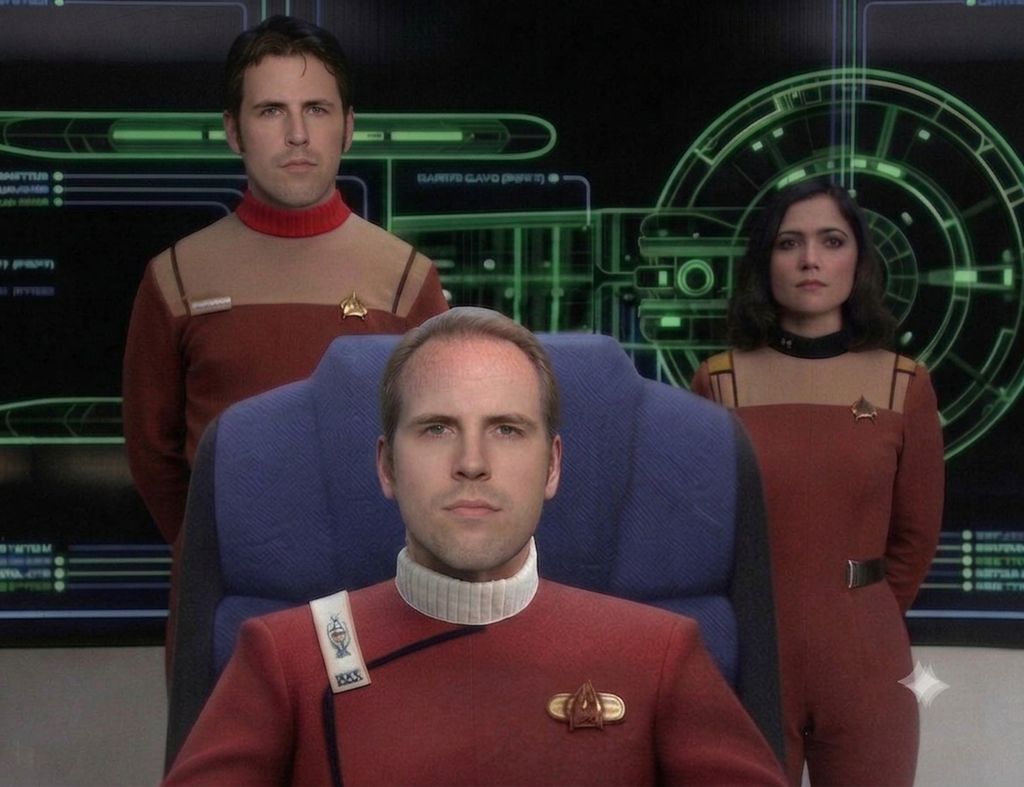
Close enough! I could always swap out Captain Matthews’ face in Photoshop from a previous render. Now I just needed to fix the half-belt of the female and also extend her leg. Again, I won’t waste time on the five misfires, but I eventually got this render…
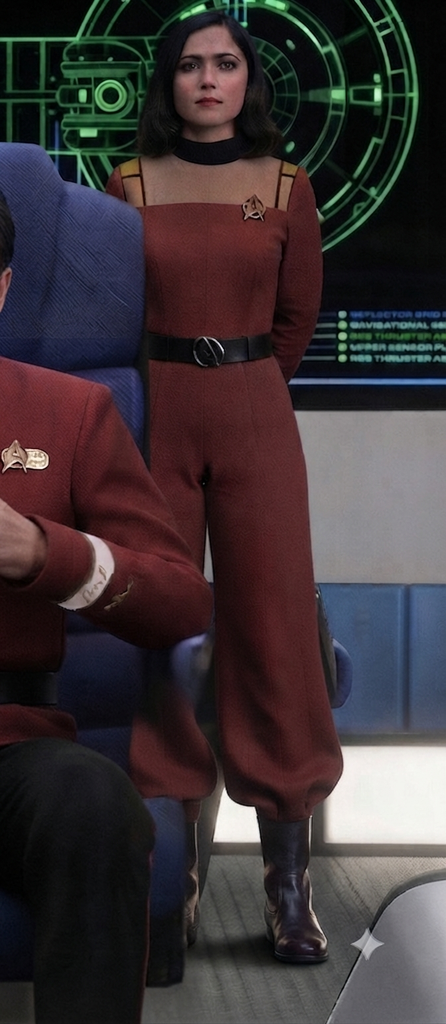
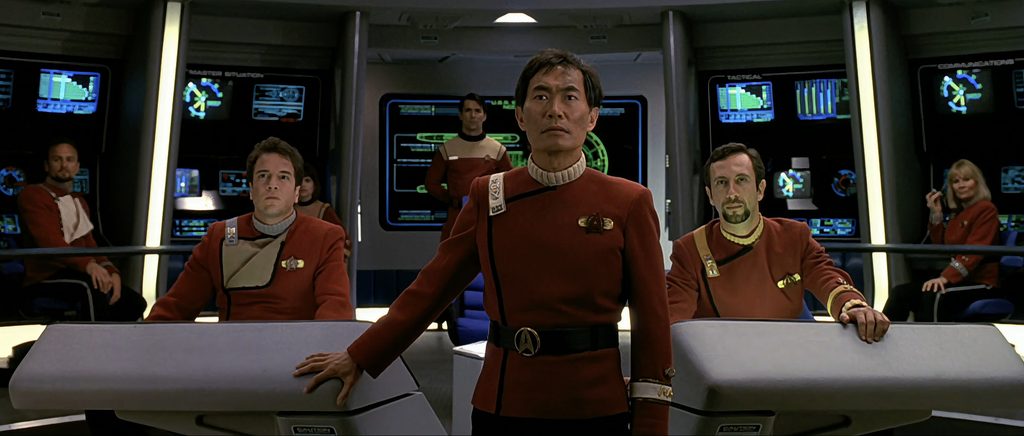
The final two elements to be added were the navigator and helm officer. By this point, GLEN WOLFE had agreed to appear in the film as the navigator, and JOSH IRWIN was already on board (literally and figuratively) as the helmsman.
As this blog is getting pretty long, I’ll speed through the rest. First, I used this image as a base to generate my navigator and helmsman…
After several misfires and a bit of Photoshopping, I eventually went from this…
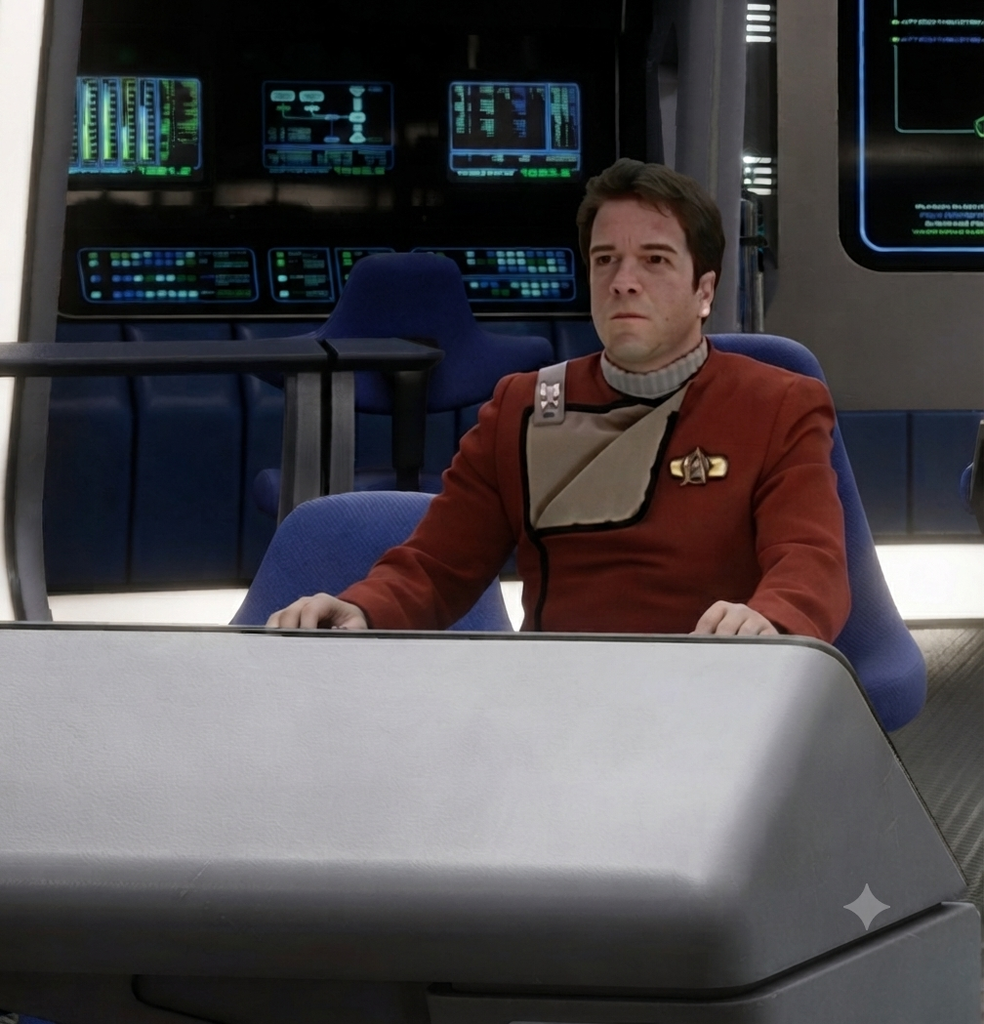
…to this…
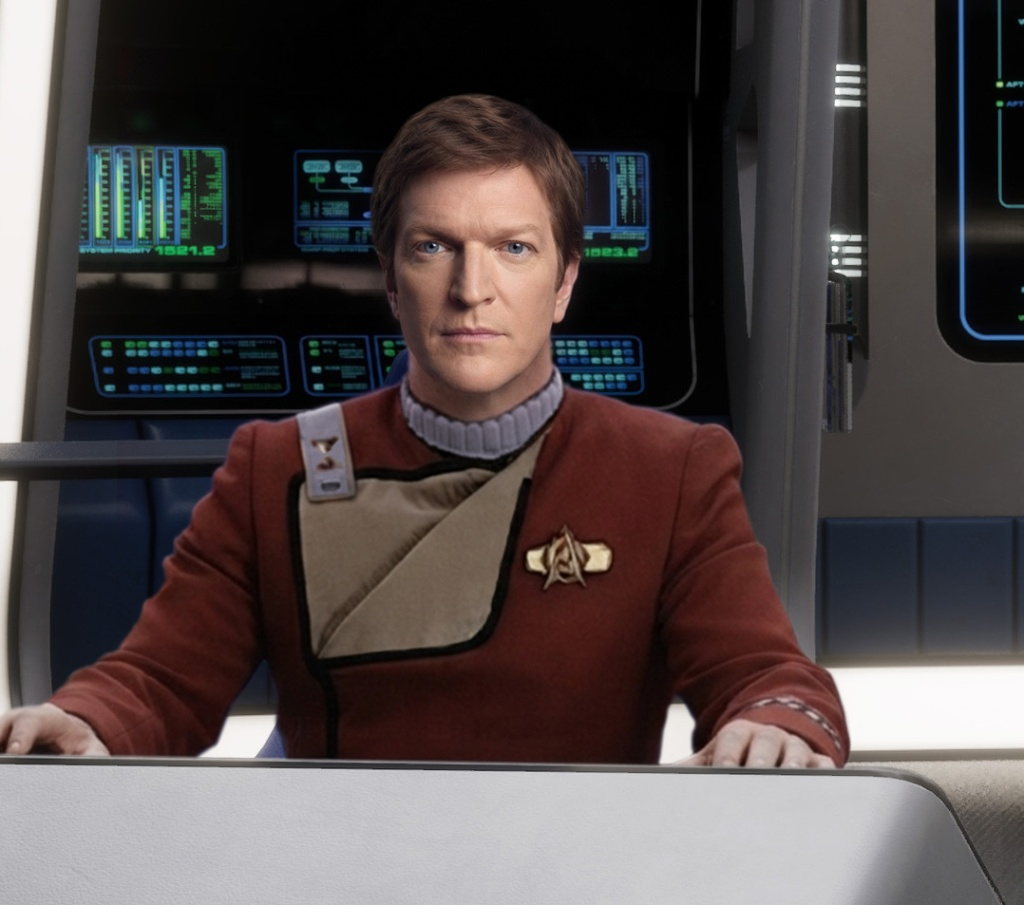
…and this…
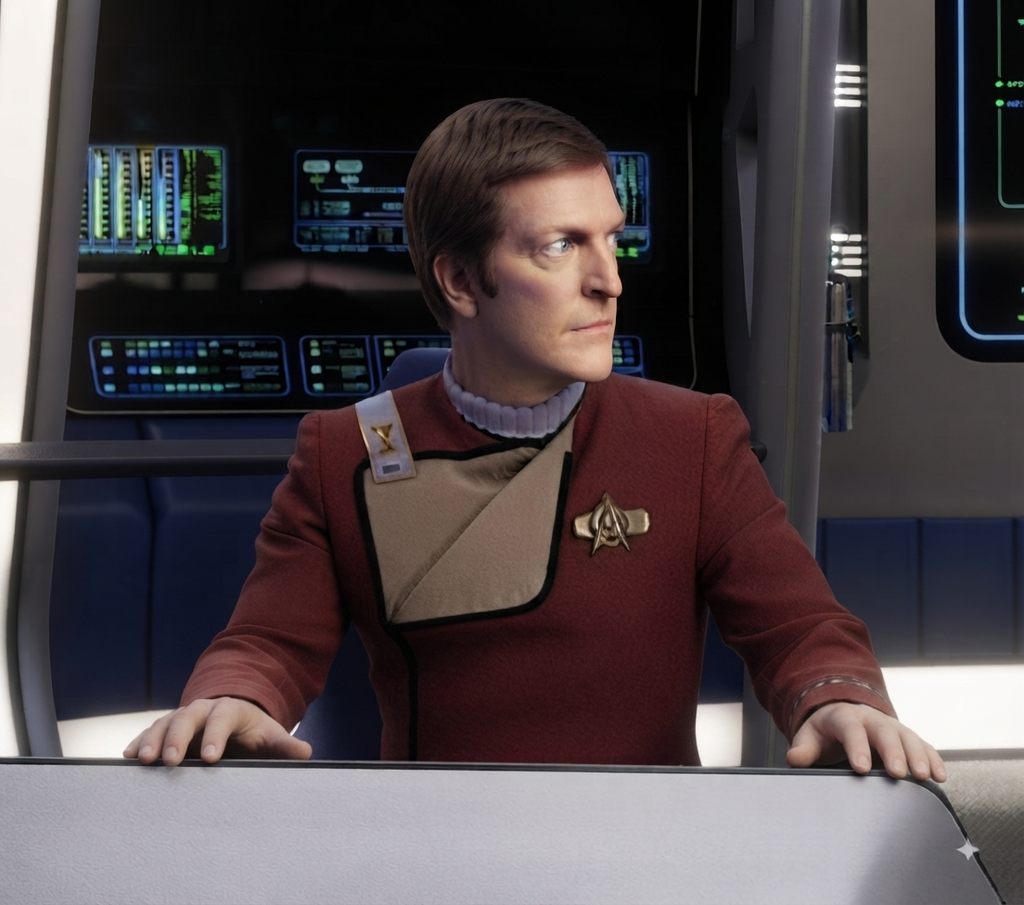
And for the helmsman, the journey was from this…
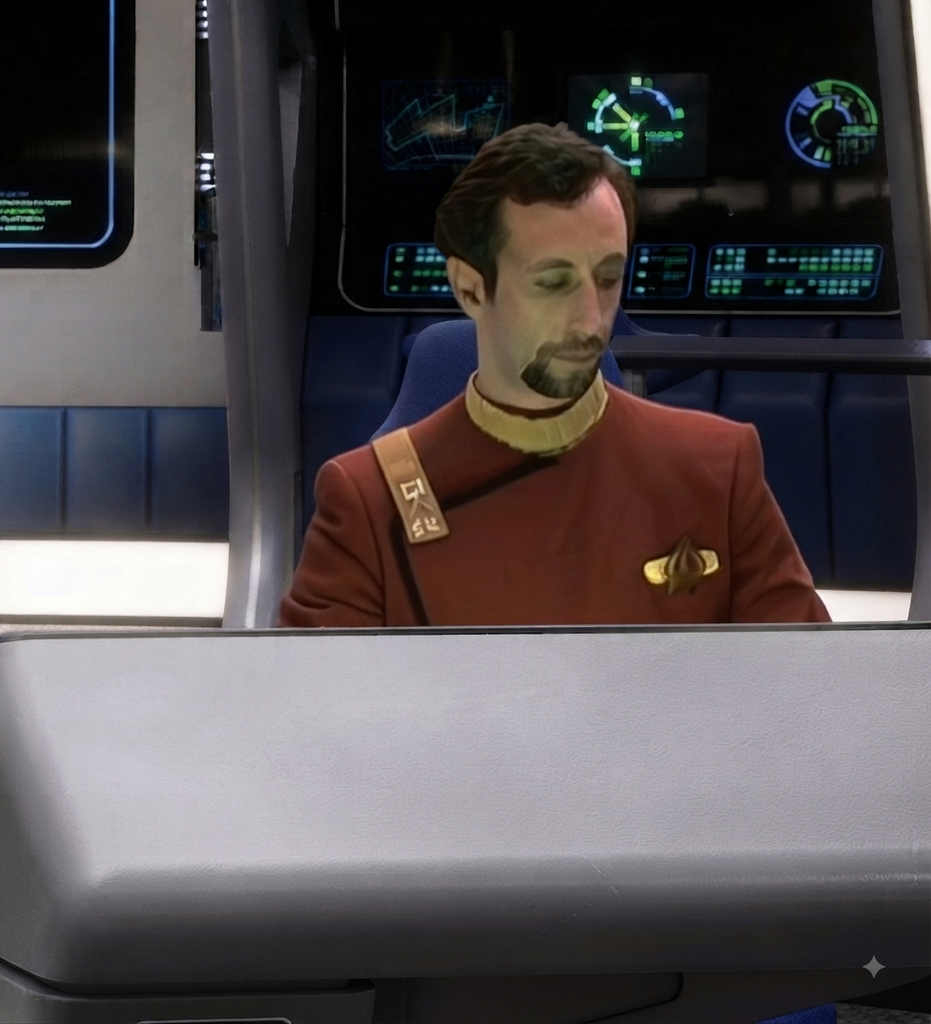
…to this (note that I added back more of the abdomen under the chest emblem)…
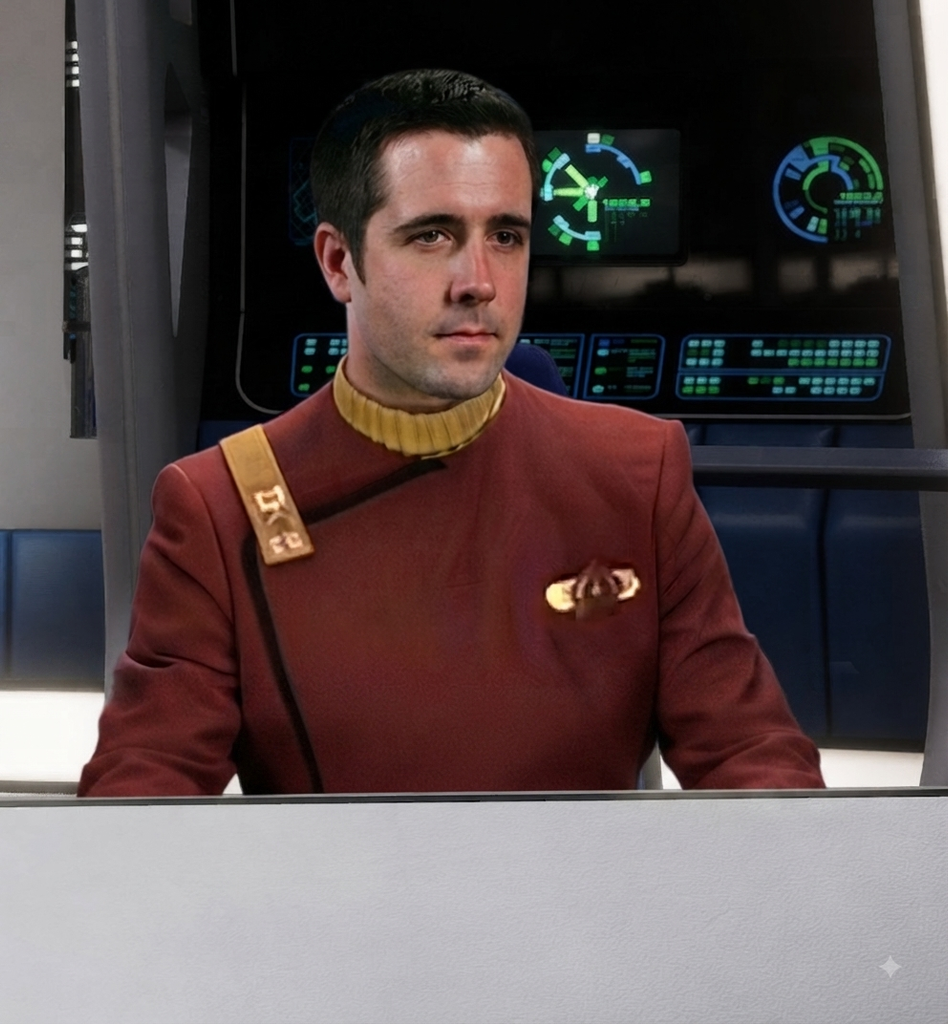
…and this (with everything assembled on the helm side)…
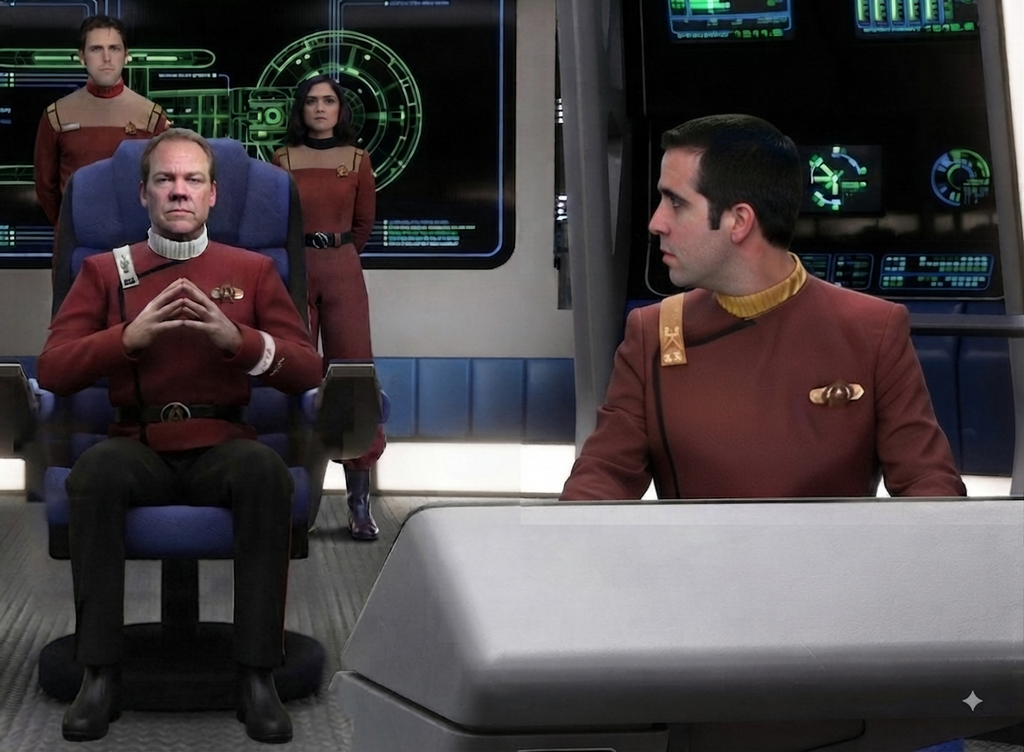
Eventually, Gemini, Photoshop, ElevenLabs, Kling, Premiere (adding a zoom-in and a little “speaker reverb” sound adjustment for the voice), and I were able to produce this really nice 12-second clip, my longest of the film thus far…
So that was one of my secret ingredients: work on one part of the seed image at a time until the whole thing is built up just the way I want it.
Next time, I’ll share the second secret ingredient to my A.I. sauce recipe…!