
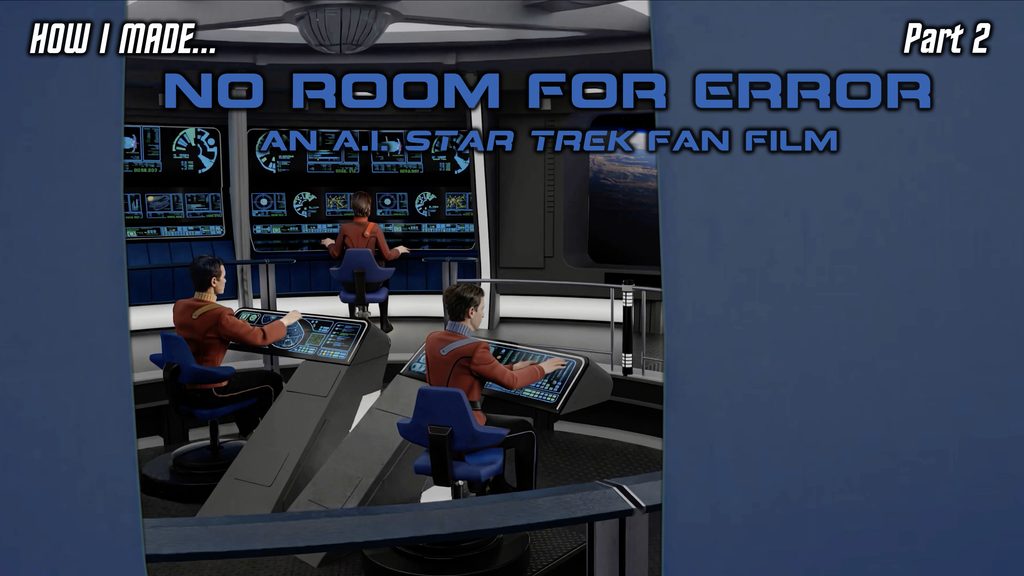
Last time, I premiered my new all-A.I. Star Trek fan film, NO ROOM FOR ERROR, which took me nearly six months of many long days and nights to complete. The purpose of the project was to teach myself the tools of Artificial Intelligence for filmmaking by presenting myself with the task of actually creating a short Star Trek fan film. And to make things even more challenging, I decided the setting would be an Excelsior-class starship during movie-era Trek—some of the most difficult uniforms and set backgrounds for A.I. to tackle correctly and not screw up!
If you haven’t seen the short film yet, here it is…
I forgot to mention in Part 1 that the original title of my script was CLEAR ALL MOORINGS. And that title nearly stuck. I was working on the closing credits when I realized that simply putting the title at the end of the fan film wouldn’t work in keeping the “punchline” secret. And that was because the YouTube page would show Clear All Moorings as the title right there under the video the entire time. Not wanting to give away the gag, I decided at almost the last minute to change the title to No Room for Error.
The fan film was too short to create a decent trailer without revealing too much, so in the week and a half leading up to the release on YouTube, I posted about two dozen still images to Facebook. This resulted in a number of comments like this one…
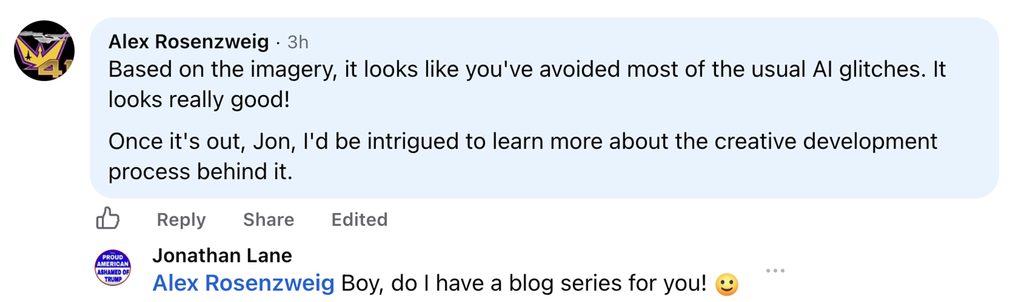
So I’ve decided to do a deep-dive into how I created some of the cooler shots for this fan film and how I managed to avoid some of the most common A.I. failures when it comes to rendering movie-era Star Trek. If that’s not your thing, then feel free to skip my next several blogs. I’ll be writing them specifically to help others, as I’ve learned that generative A.I. artists seldom keep their “tricks” secret and instead openly share the methods they used to achieve their results.
When last we left off, I had discovered that I needed to find actual stills of the USS Excelsior and adjust those—using a combination of both Google Gemini‘s free A.I. engine for generating images plus TONS of Photoshopping (often repeatedly for the same still). Then the time came to animate the lights turning on for the opening sequence. My tool of choice: Kling A.I. in order to learn what it could do. And it could do a LOT!
It could also screw up a lot…
Kling offers multiple ways to create a video from scratch. You can simply describe what you want with text, or you can “seed” the video with a starting image and let things unfold from there. But beware! A.I. can go on quite a ramble, even if you provide the jumping-off point. But that’s why Kling also offers a third option of uploading a final seed image, as well. In this way, you can minimize the “drift” by telling Kling where to begin and where to end the video. It’s much safer, although it does impose some limitations, as well, which I’ll discuss in future blogs.
To illustrate my process, I’m going to focus on two clips from the first 16-second sequence of the film: the spotlight turning on for these two close-ups of the Brisbane…
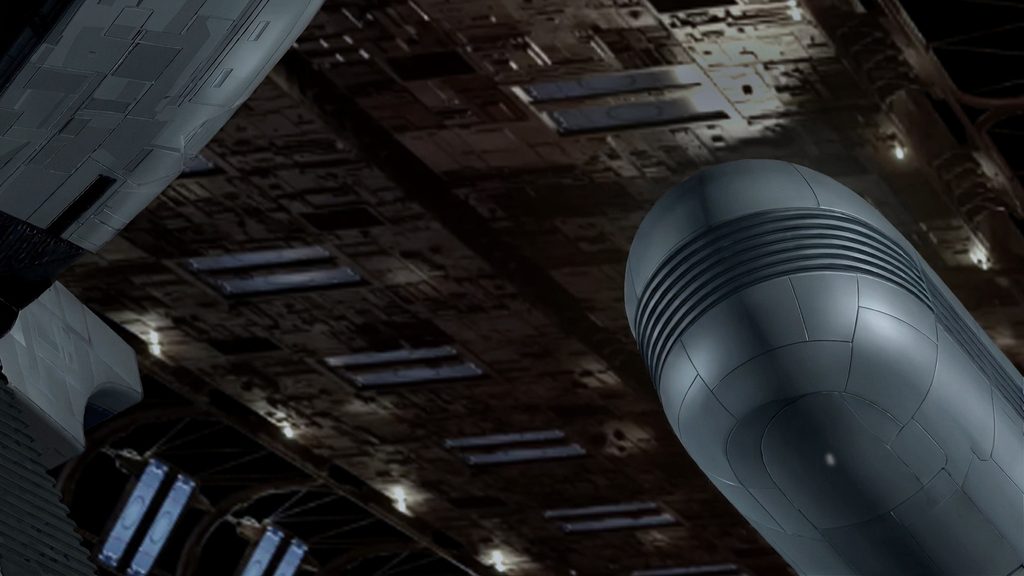
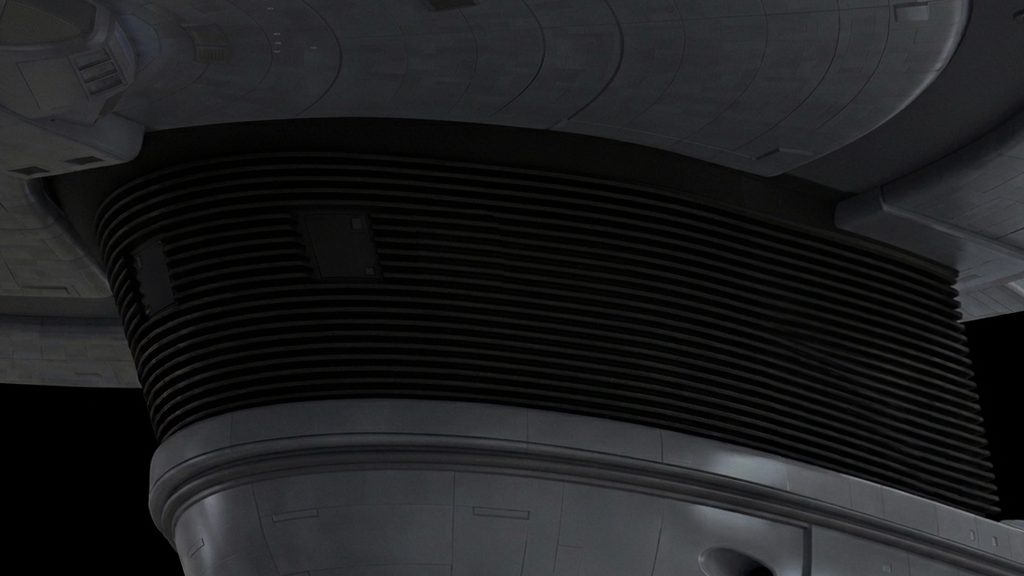
I had already used Google Gemini to composite together the roof of dry dock (screen captured from the Enterprise pre-launch sequence from Star Trek II: The Wrath of Khan) and the close up of the underside of the port nacelle and impulse deck in the first image. And I also used Gemini to generate the close-up of the dorsal in the second shot. Then I went into Photoshop the tweak the lighting levels, as the black “area”neck” can’t be too black or else A.I. might think it’s just outer space. (Ask me how I know that!)
So pop quiz time: did Jonathan use just the starting image and have Kling shine a spotlight, or did he also provide an ending image to show where the spotlight should end up? If you guessed the second choice, give yourself a pip. Remember that Kling costs me money for tokens while Gemini does not. So it is financially risky to assume that Kling would know where to place the spotlights and the illuminated areas. So I made some tweaks to the above images in Photoshop and then used those tweaks to guide Gemini in generating the following two ending images (which I then tweaked again in Photoshop)…
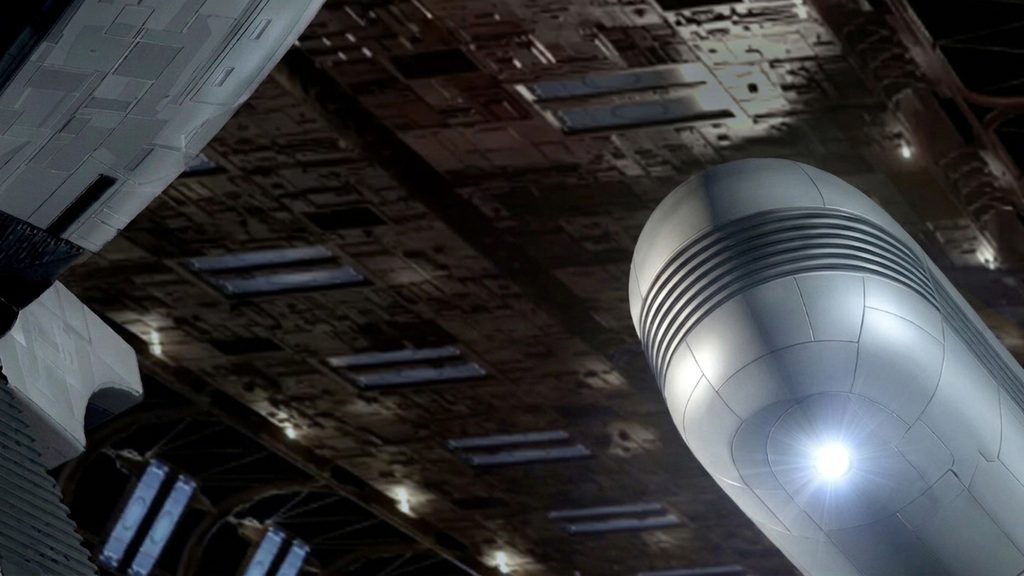
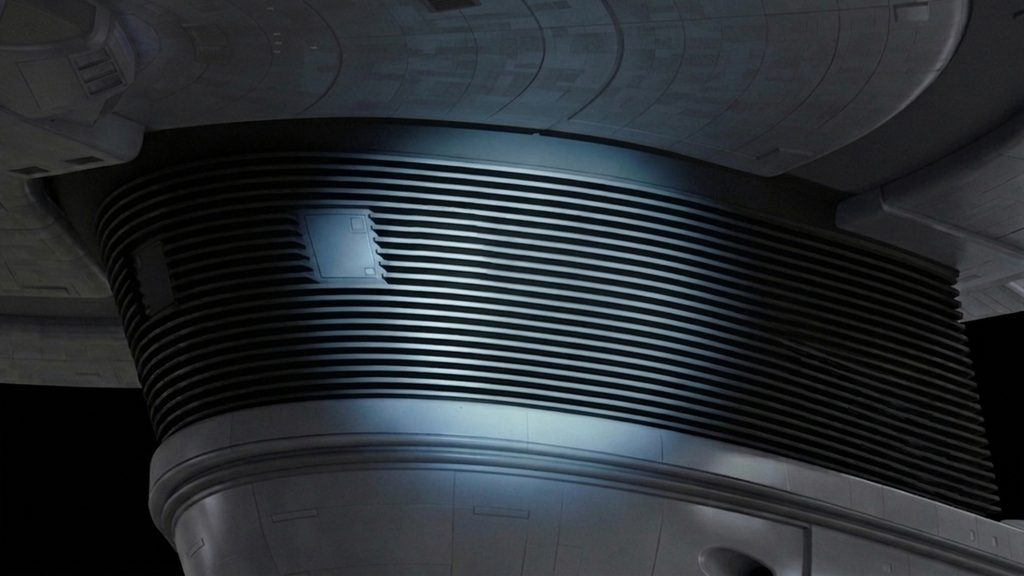
So now that I had the starting and ending images, it should have been a no-brainer for Kling to animate between them, right? And my prompt pretty much laid it out as plainly as possible: “The lights turn on as the USS Brisbane sits in drydock. The lights turn on as shown in the end image, and they appear suddenly like turning on a light switch and remain on.” Actually, that wasn’t my first prompt—which I don’t have access to anymore due to deleting unused renders to make space for new ones. But after watching Kling repeatedly get it wrong with previous prompts, that prompt seemed to solve all of my problems.
Except it didn’t.
Here’s an example of how, even with a starting and ending image and a prompt that a four-year-old could understand, Kling still gave me a bad result…
Blue?!?!! I didn’t ask for a stopover at blue on the way to my ending image! And then there was this little gem…
Who knows what the heck happened there, but it was no bueno! On average, I needed 5 or 6 attempts to get one usable render. And even then, the timing usually needed to be tweaked in Adobe Premiere to speed up the clip, as the lights typically didn’t come on fast enough.
Eventually, I finished all seven shots to make the sequence match the pre-launch of the Enterprise from Star Trek II, which you can watch below along with my clip from the beginning of No Room for Error paying homage to compare the two…
You’ll notice that I also followed up the VFX shots with the view looking out through the turbolift doors as they opened. Lest you think this was all done simply with A.I., I did a lot of old-school guerrilla Photoshopping, as well! Wanting to get that exact same door-opening motion, I screen capped 17 consecutive frames from STII with the doors sliding open. Then I went into Photoshop and manually painted in a green-screen mask that would reveal the Brisbane bridge beyond. I also shifted the color of the doors from their original olive/brown color to a blue hue. Kling would never have been able to match the sliding motion as perfectly as me doing screen capping…
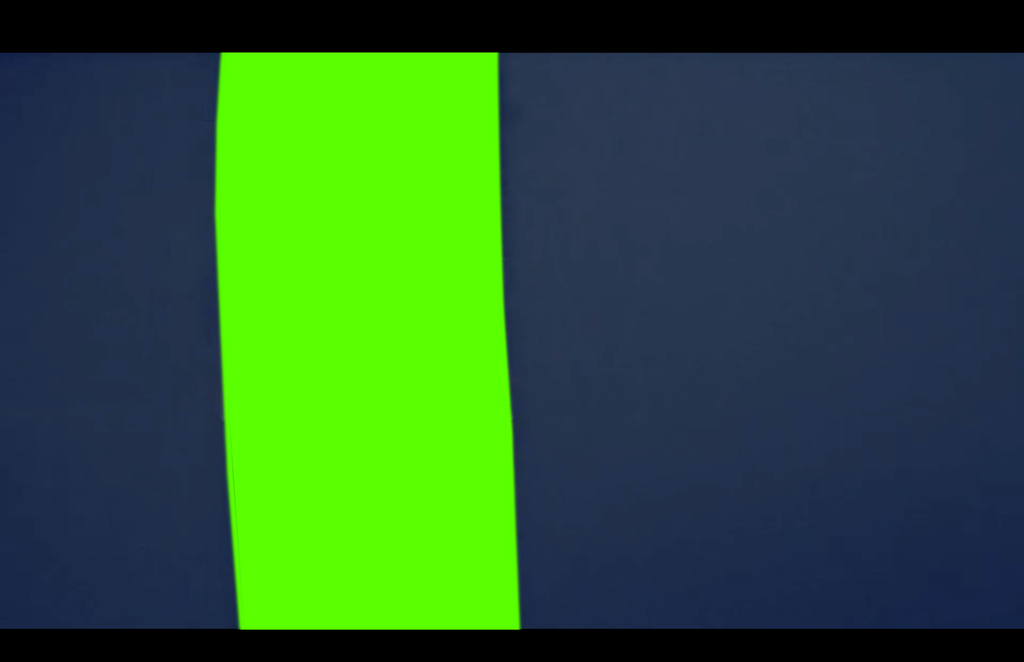
But Kling was able to do something that I personally consider to be super-duper cool. After the doors slide open, you see the view of the bridge looking forward. And I used Gemini to put in a helmsman, navigator, an officer sitting at one of the station consoles, and two enlisted crewmen who were initially rendered from a still from Star Trek VI: The Undiscovered Country…
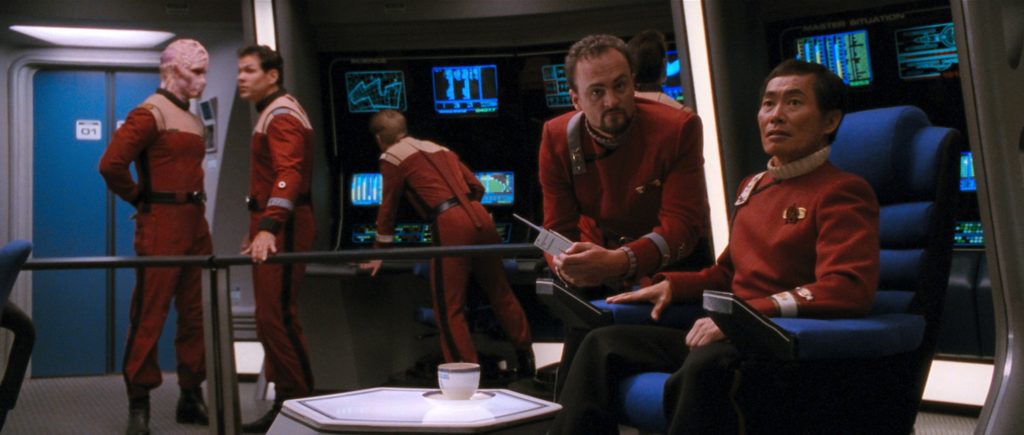
My initial bridge animation where the helmsman announces “Captain Matthews on the bridge” looked like this…
Note that Kling adds voice and sound effects for you, even though I would eventually dub in the voice of fan filmmaker JOSHUA IRWIN as the helm officer. Also notice that I hadn’t yet turned the crewman on the far right into fan filmmaker DAVID CHENG, although this was when I reached out to him and the others for permission to include them in cameo roles and to get decent head shots to use for the A.I. models. This early version of the shot was also shorter in duration and still had the low hexagon table on the lower left where Captain Sulu puts down his tea. I ultimately decided that I didn’t want that table in any of my shots, and I used A.I. to remove it later.
Anyway, the scene looked decent enough. The bridge certainly wasn’t empty. But it didn’t feel nearly as dynamic as that opening shot of the Enterprise bridge as Kirk exits the turbolift. I tried to think of a way to have Kling add some people walking around left-to-right or vice-versa, but Kling does not do movie era uniforms well without a starting image, and even then, a walk across the bridge would have been a big ask and quite optimistic to believe Kling would be able to nail it correctly.
But then I had a crazy idea!
Watch the above clip from Star Trek II starting at 13 seconds, just after the doors open. Do you see what I saw? There’s a crewman walking left to right directly in front of the turbolift! All I needed to do was grab him from the STII clip and put him over my clip. Easy-peasy, right? Well, maybe not peasy—but definitely doable. How, you ask?
There’s a fourth way you can create a video in Kling that I didn’t mention earlier. (Actually, there’s even more than four, but I digress.) The fourth way does not involve starting with a still image but rather seeding an full video clip (not more than 15 seconds long) and asking Kling to make some kind of change to it. The technique doesn’t always work. I tried a few prompts for adjusting videos that never worked. But this one did, and here’s how…
Kling allows you to upload only one video and up to three still images to guide the adjustment process. In other words, I couldn’t upload my Brisbane bridge video plus the STII video and say, “Take that guy crossing from left to right in the second video and place him into the first video.” But that’s okay, I had a workaround: I would turn the walking man into a green-screen layover layer that I could chroma-key over the Brisbane sequence in Adobe Premiere (the video editing and assembly application I was using). All I needed was to illustrate for Kling what I wanted, and that required only a single screen-captured frame from from STII and a little meticulous Photoshopping. So I made this image…
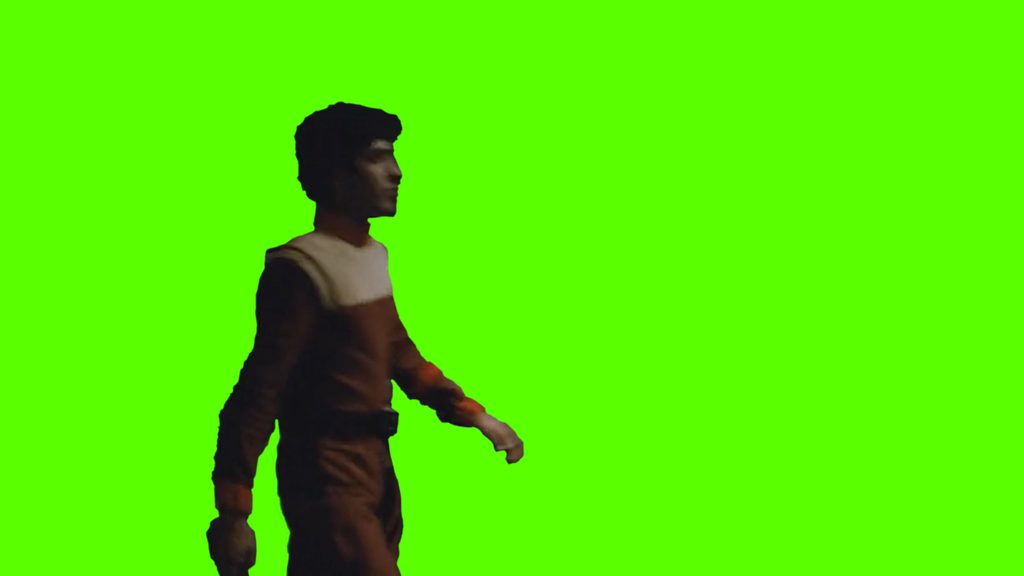
Then I uploaded the walk-across clip from STII along with the above still image and told Kling, “Recreate Video1 with just the person who is walking across the bridge but replace the background with a flat green screen as shown in Image1. Note that Image1 is just a single frame, and I want the entire video to be the person walking in front of a green screen.”
I got what I wanted—kinda…
Why Kling decided I wanted twins is beyond me. And a second prompt that added, “In the final video, there should be only one person walking across the screen…” resulted in the same doubling. Rather than spin my wheels generating more clips, I decided to use one of the “twin” renders and simply have Premiere mask out the first twin, leaving only the second twin walking across the screen.
One final thing I’ll point out in this blog is the somewhat questionable lip sync when the helmsman delivers his line, “Captain Matthews on the bridge.” Lip sync is one of the additional video options with Kling. You upload a video between 3 and 15 seconds, you upload the sound separately, and then Kling will sync up the mouth movement of the selected speaking character for you. If you think about it, it’s absolutely stunning that such technology even exists, but that’s the nature of A.I. However, this amazing technology is definitely still in the “room for improvement” stage, as A.I. lip sync struggles the smaller the character appears on the screen, which is why the helmsman’s lips don’t sync particularly well. Later in the project, I got significantly better results doing lip-syncs with close-up shots.
However, I was able to “cheat” a little bit, thanks to the crewman walking in front of the camera. I managed to place his motion so that he’s blocking the worst moments of the lip sync!
Yep, lots and lots of little tricks went into this fan film, and we’ll go over even more next time.
Come back for Part 3 (assuming you’re still interested) to see what I did to get Captain Matthews to walk out of the turbolift with the doors closing behind him and the camera panning backward. It was NOT easy!